Checking If Students Are Missing From Groups (XLIST Shells)
Here’s how to check to see if there are students who are not in a group in your Bb Learn course shell, particularly if you have a group for online students and a group for on-campus students in an XLIST or crosslist shell.
- Open up your Bb Learn course shell in 2 different windows or tabs in your internet browser.
- In the first tab/window, click to expand “Users and Groups” under the “Control Panel” in the left-hand course menu.
- Click “Groups.”
- In the upper right corner, beneath “Edit Mode is”, next to “All Groups," click the hard-to-see right link that says “All Users.”

- On the “All Users” page, scroll all the way down, and click “Show All.”
- Make sure each student has a group name listed in the “Groups” column.
- All students have a group listed? You are done. Do not proceed with the next steps below.
Have online and on-campus students and need to identify which is why? Click link below for how.
a. Look up what the CRN number or Course ID number is for your on-campus and online sections. If you can't find this information, let us know. All online section numbers start with a nine (for example, 900, 901, 902, etc.). All other section numbers are on-campus.
b. In the second tab/window, click to expand “Grade Center” under the “Control Panel” in the left-hand course menu.
c. Click “Full Grade Center.”
d. Look in the “Child Course ID” column for each student not in a group.
e. Click the "Child Course ID" column header to sort "Full Grade Center" by "Child Course ID." See below for an example of a column header.
f. If the “Child Course ID” is the CRN number or Course ID number for your on-campus section, then the student is an on-campus student.
g. If the “Child Course ID” is the CRN number or Course ID number for your online section, then the student is an online student.
h. Record whether each student not in a group is online or on-campus.
i. Otherwise, skip to step 9 below.- On the “All Users” webpage, hover your mouse pointer over the empty area in the “Groups” column for a student not in a group.
- Click the “+Add to Group” link.
- In the pop-up window, choose the appropriate group for the student, and click “Submit.”
- If you make a mistake, find the student again (note that there may be multiple pages of students), click their group name, and click OK to confirm deleting it.
- Scroll down, click “Show All,” and repeat steps 9-12 for each student who does not have a group.
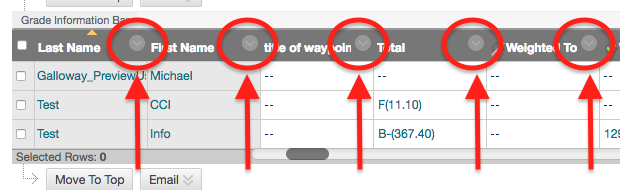
Example of Column Headers and Circled Down Arrows
A column header in "Full Grade Center" is the top header row for a column.
Here are examples of column headers and circled down arrows in "Full Grade Center."
Your Grade Center columns may have different names.
5 different column headers are circled below.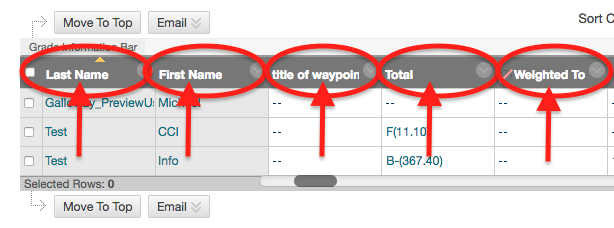
5 different circled down arrows in column headers are circled below.