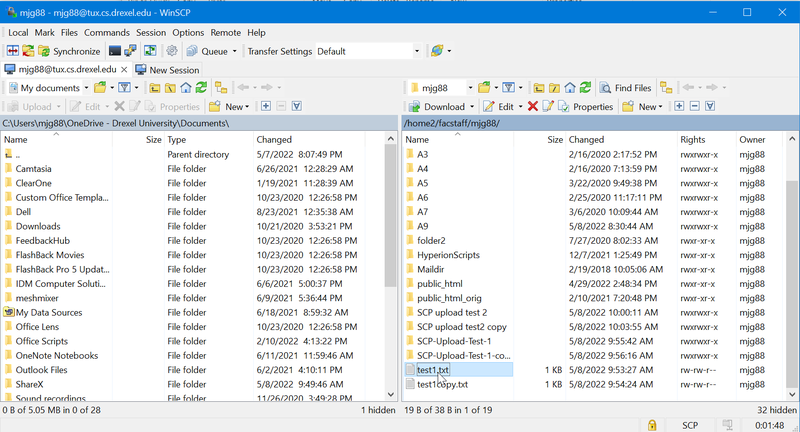
Text editor config for WinScP
This new section covers how to connect a favorite text editor application or IDE so that when you save changes, the changes are saved to Tux or another remote server.
Set-up section:
- Choose "Options" from the menu bar
Then click "Preferences"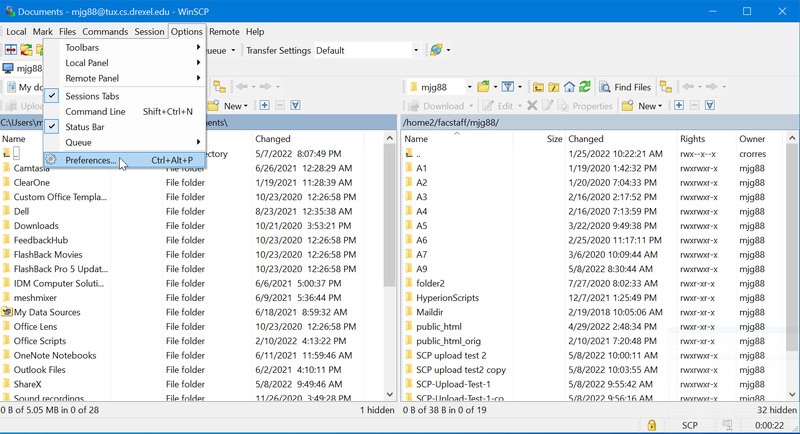
- Click "Editors" from the left side
Then click "OK".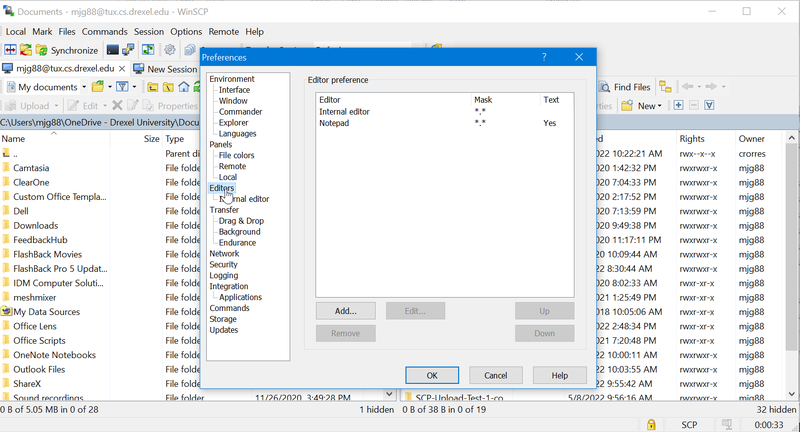
- Select if you want to use Internal editor in Windows File Explorer
Clicked "*.*" from the drop-down list of "Use this editor for following files".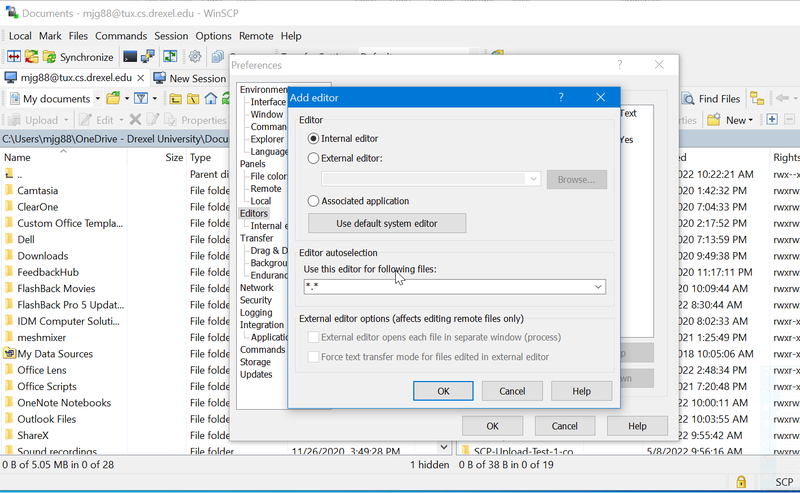
- Choose "updater" folder under "Notepad++".
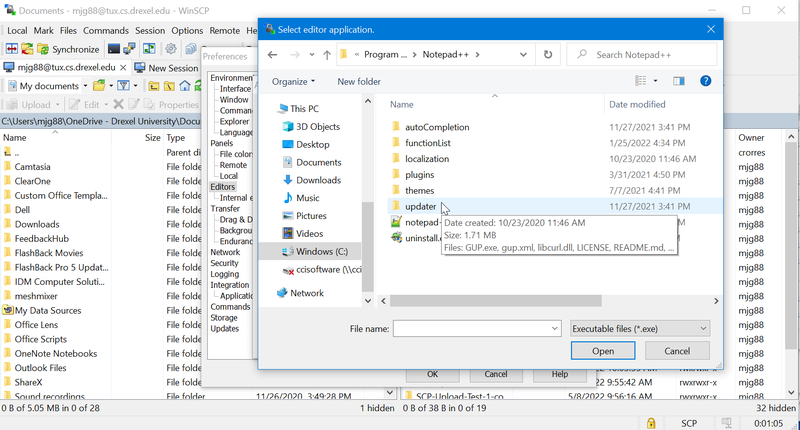
- Choose "Notepad++"
Then click "Add".
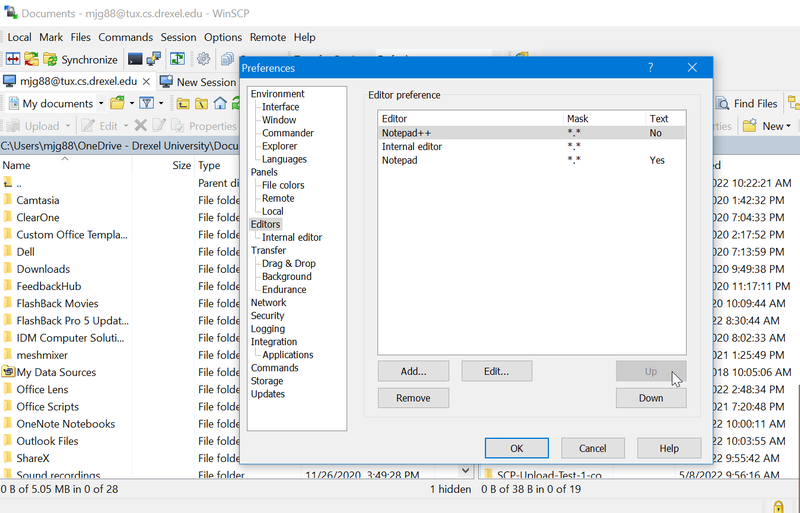
- Change the default order of editor preference
Choose "Notepad++"
Click "Up" to move the preference.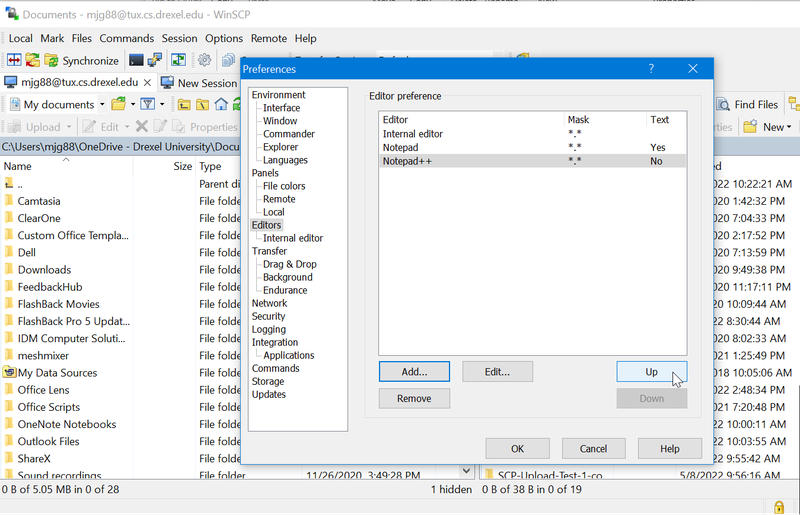
- Click "Ok".
Example: WinSCP uses after the text editor set-up
- Create a test file
Double-click to open the file.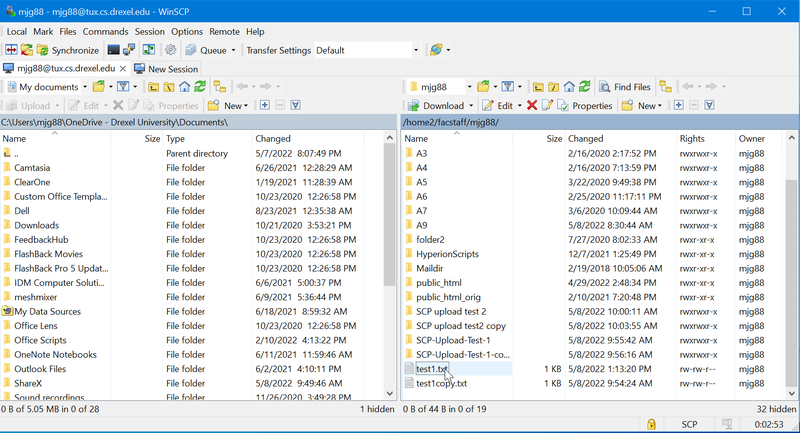
- Make changes to files.
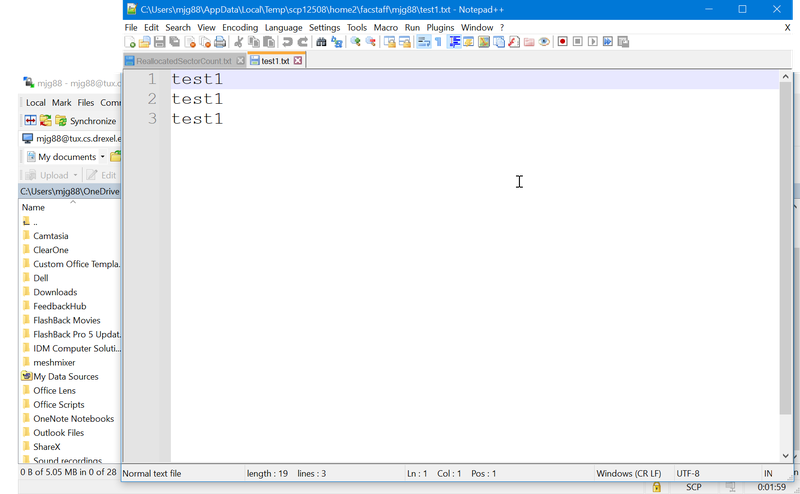
- Save changes to files as normally you would.
Changes are saved to file on the remote server.