
WinSCP
Video Instructions
https://1513041.mediaspace.kaltura.com/media/WinSCP+Overview/1_d1xuau98
More about WinSCP
WinSCP only works for Windows.
- Try Cyberduck for Mac.
- Or try SCP by Mac Terminal CLI or Command Line Interface
Login & Configure Session: https://winscp.net/eng/docs/ui_login
- Upload Files: https://winscp.net/eng/docs/task_upload
- Download Files: https://winscp.net/eng/docs/task_download
- Editing/Saving Files with built-in text editor: https://winscp.net/eng/docs/task_edit
- Editing/Saving Files with your preferred text editor: https://winscp.net/eng/docs/ui_pref_editor
- Even More: https://winscp.net/eng/docs/task_index
Written Instructions
WinSCP install
To setup WinSCP, download from https://winscp.net/eng/index.php and open the installation file.
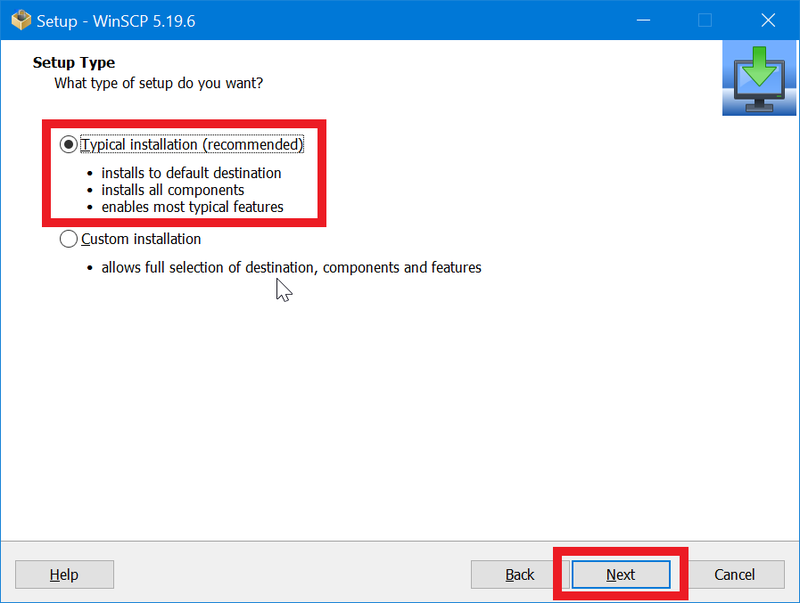
- You will be prompted to select a setup type. For a basic setup, choose Typical installation.
Once the pop-up appears, select "Typical installation (recommended)" - Click the 'Next' button
- Select the 'Commander' interface style'
Click the 'Next' button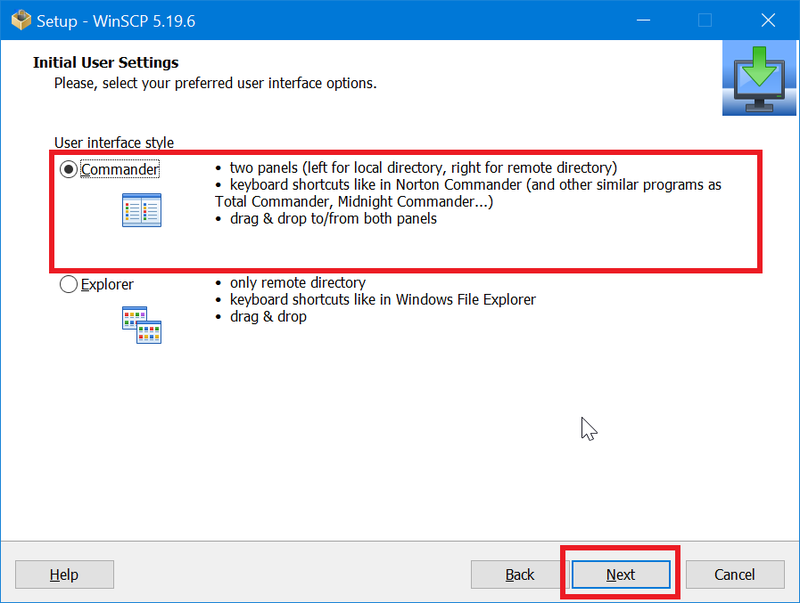
- Use the drop-down menu next to 'Import from' and search for 'PuTTY'
Check the checkbox next to 'tux.cs.drexel.edu'
Click the 'Ok' button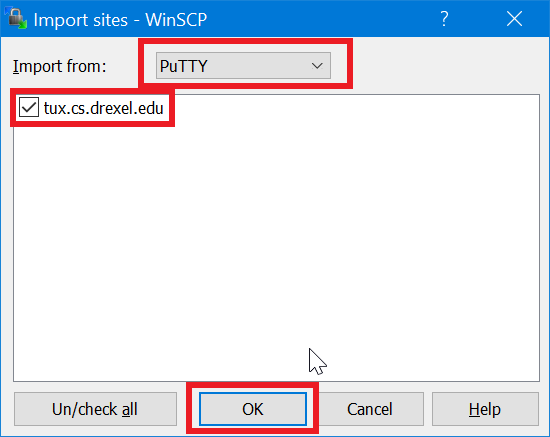
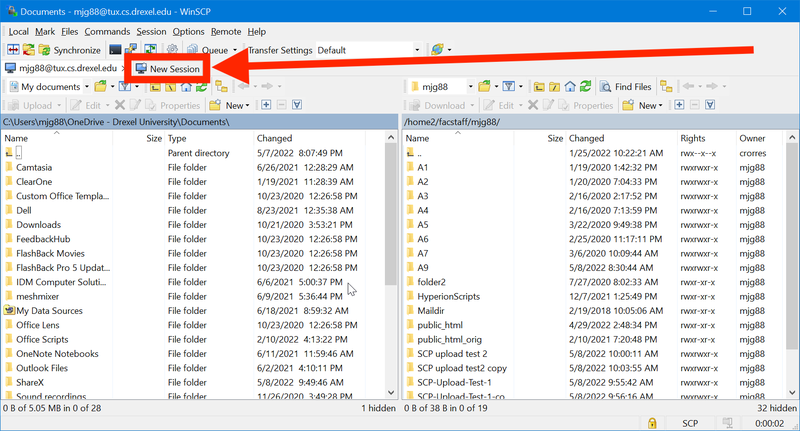
- Click the 'New Session' button on the top left.
- Click the 'New Site' button on the top left.
- Select 'File Protocol' with the drop-down menu to 'SCP.'
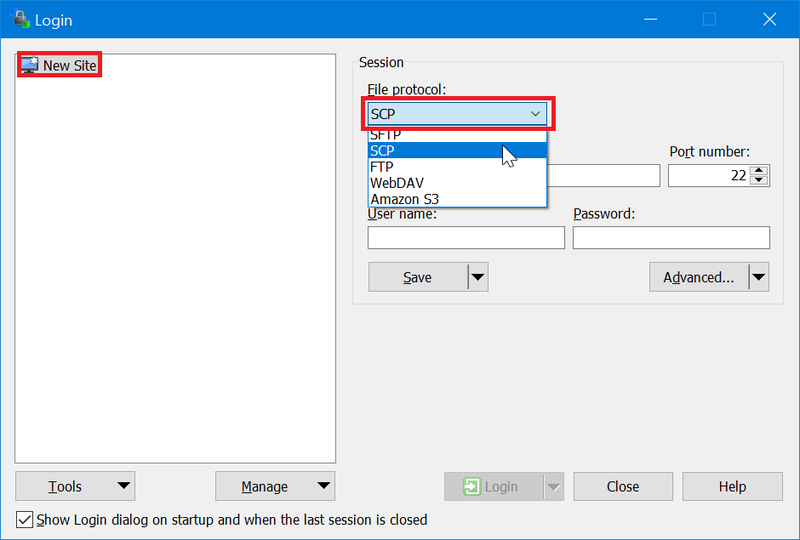
- Once SCP is selected, the following information can be entered
- Enter the host name as 'tux.cs.drexel.edu' with port number '22'
- Enter the user name as your Drexel user id (example: abc123)
and the password is your Drexel password.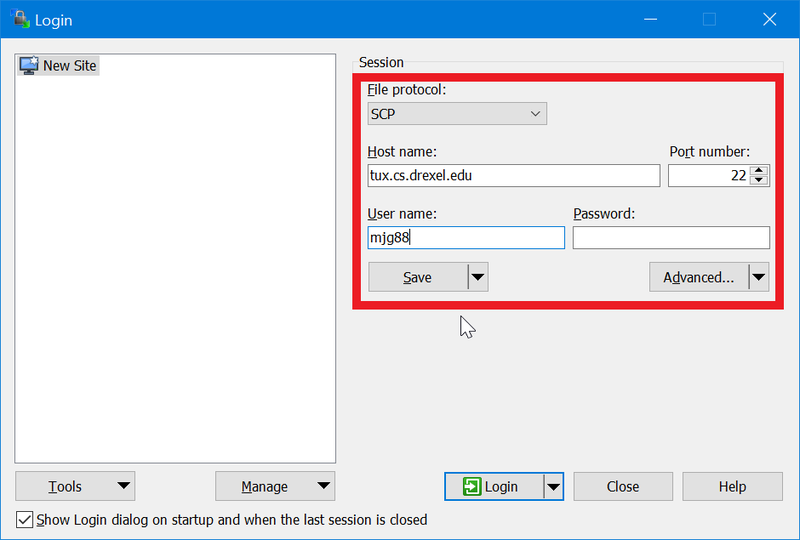
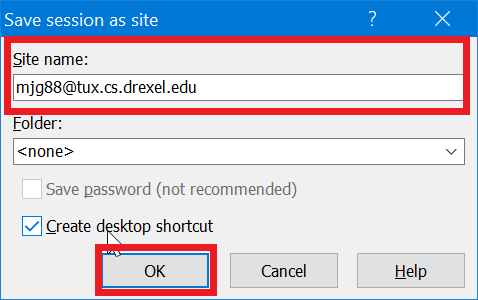
- A pop-up will appear with the heading 'Save session as site'
- Enter the site name as your Drexel user id with '@tux.cs.drexel.edu' (example: abc123@tux.cs.drexel.edu)
- Click the 'Ok' button
- On the 'Login' window, click on your Drexel user id with '@tux.cs.drexel.edu' (example: abc123@tux.cs.drexel.edu)' button on the top left
- Click the 'Login' button
