VPN -- Windows -- Alternate Install Cisco AnyConnect VPN to Connect to Drexel Network
Why Not Use Self Service for Mac?
If you have Self Service for Mac installed (which all instructors and staff with Macs should), you can definitely install the Cisco AnyConnect VPN application from there easily while on-campus at Drexel.
However, off-campus users must first connect to the Drexel network using the Cisco AnyConnect VPN client to use Self Service for Mac to install the Cisco AnyConnect VPN client. It's a classic paradox or catch-22.
To avoid that, the instructions below explain how to install the Cisco AnyConnect VPN client without using Self Service for Mac.
Note that the Cisco AnyConnect VPN client updates itself when it first connects.
Instructions
Here is one way to install the Cisco AnyConnect VPN application on a Windows 10 (Win 10) computer.
This VPN application will let you connect to Drexel's network when you are off-campus, and helps you access Drexel online resources.
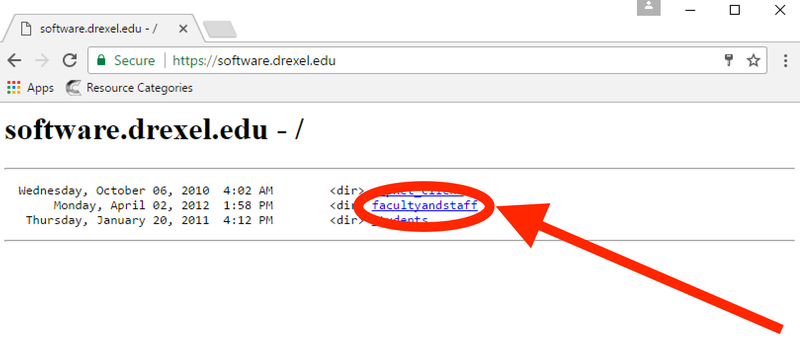
- Visit https://software.drexel.edu in an internet browser.
- Login with your DrexelOne userid and password.
- Click "facultyandstaff".
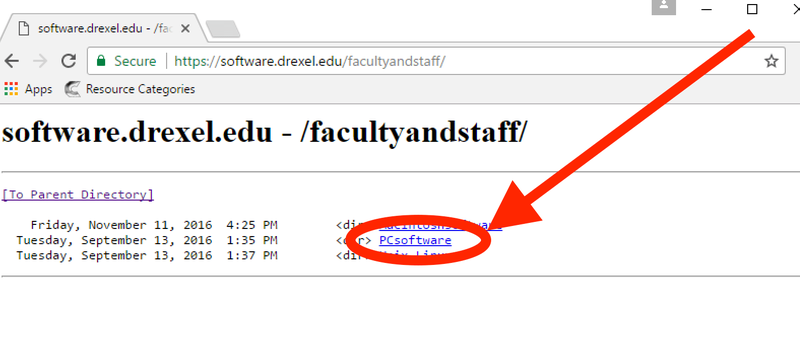
- Click "PCsoftware".
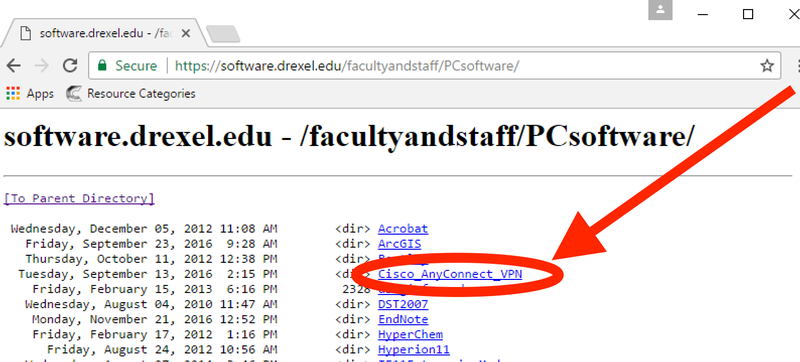
- Click "Cisco_AnyConenct_VPN.exe".
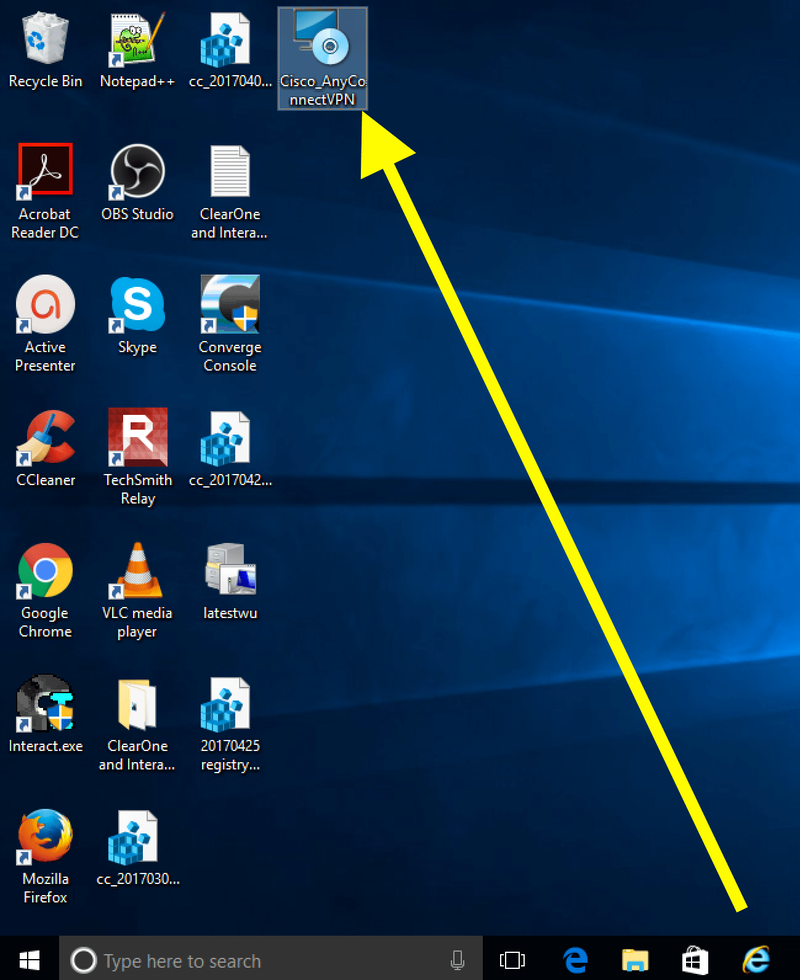
- Download the "Cisco_AnyConnectVPN" installer application to your Win 10 computer.
- Double-click to start the "Cisco_AnyConnectVPN" installer application on your Win 10 computer.
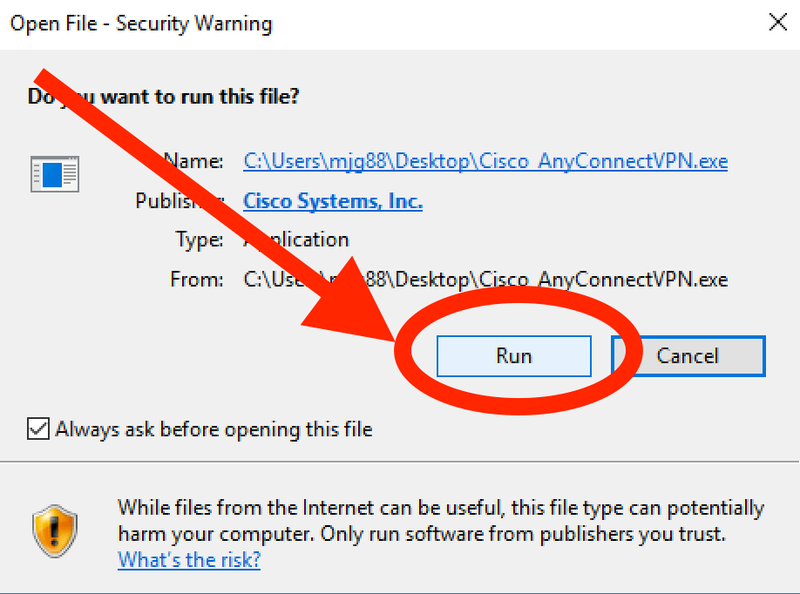
- Click "Run" to start running the "Cisco AnyConnect VPN" installer.
- Follow the onscreen instructions to finish installing the "Cisco AnyConnect VPN" to your Win 10 computer.
Click "Next".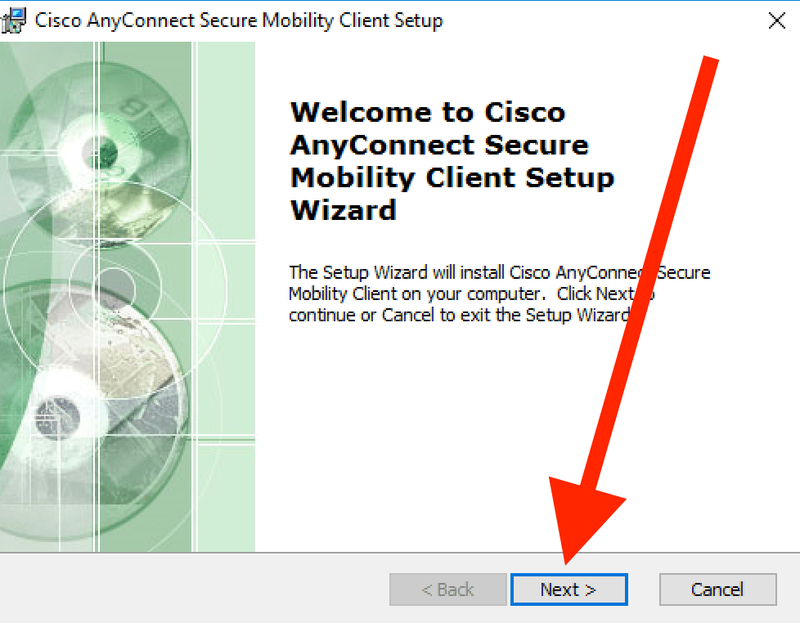
Select to accept License terms, and click "Next".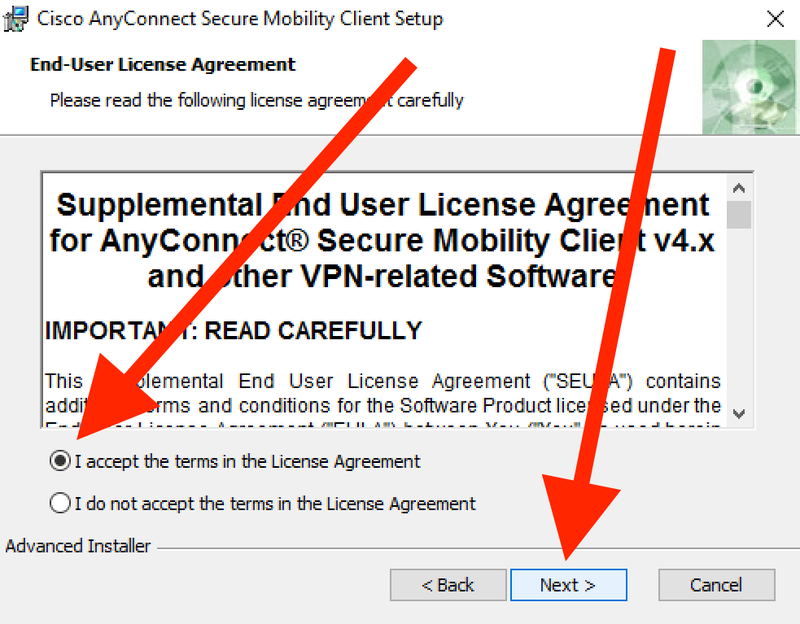
Click "Install".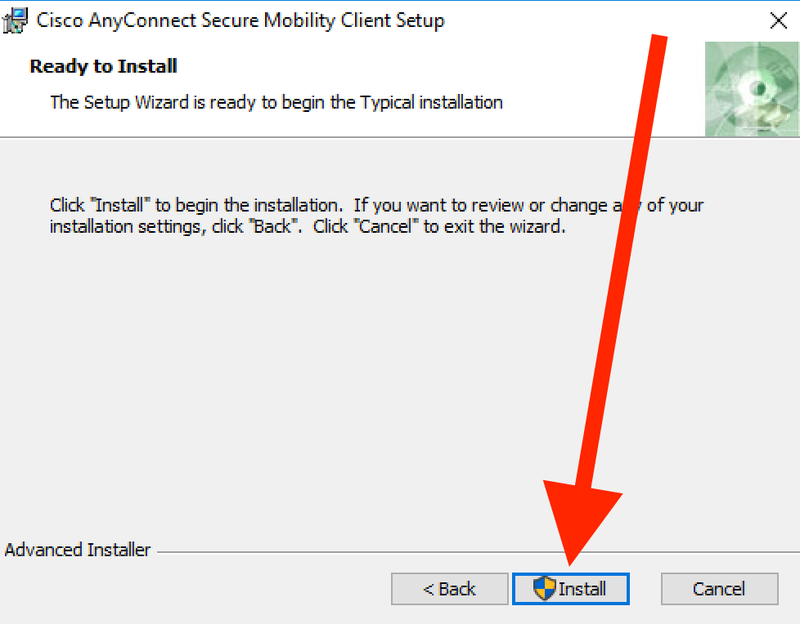
Click "Yes" to allow the AnyConnect app to change your device.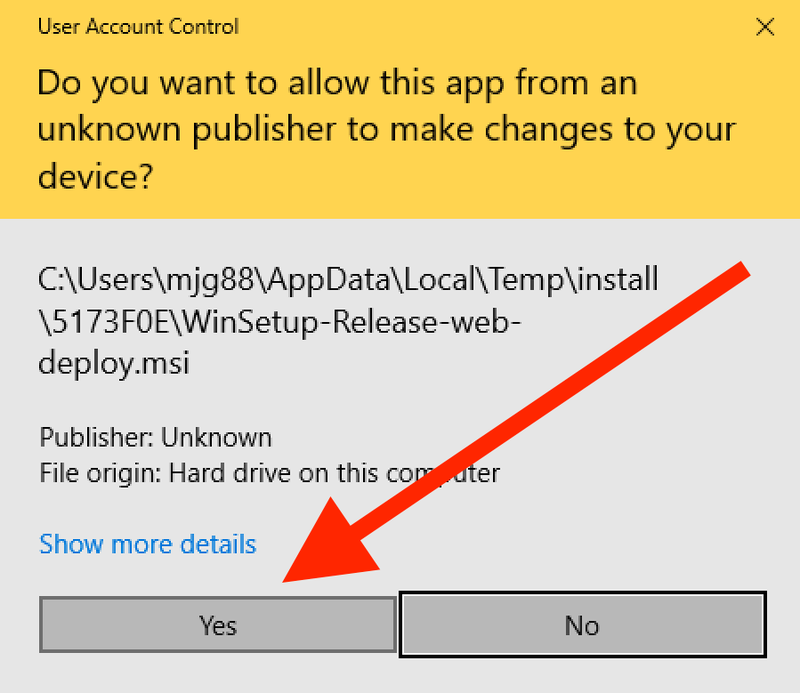
Click "Finish".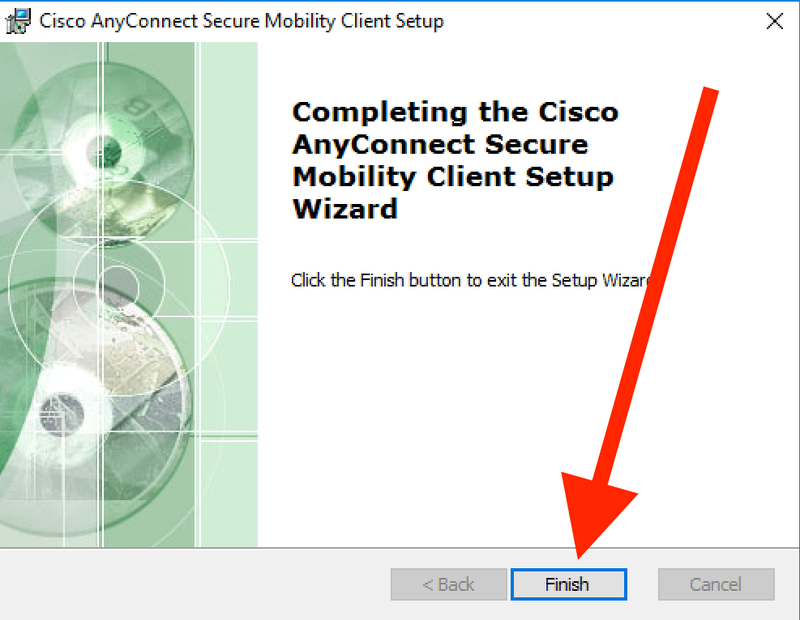
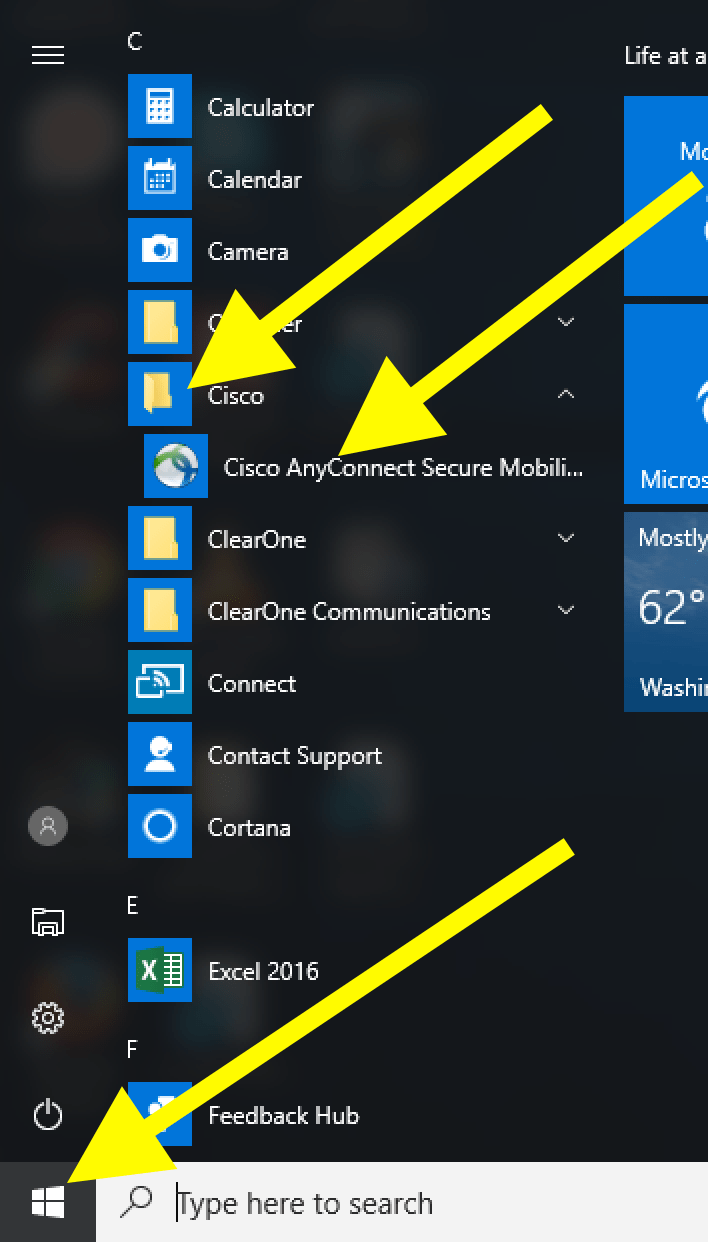
- Once installed, click "Start" menu, and open the "Cisco AnyConnect... Client" application.
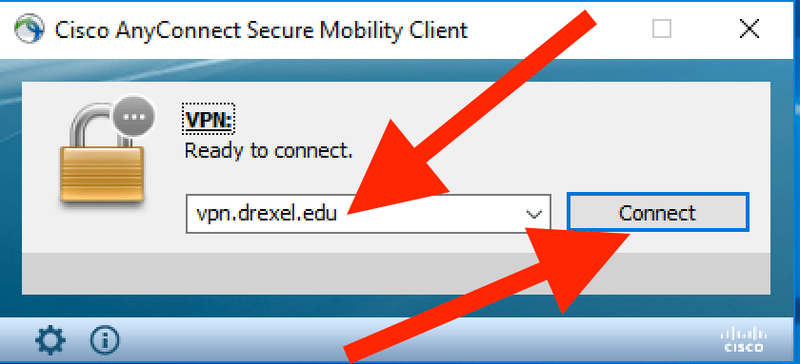
- Enter "vpn.drexel.edu" (without quotes) in the provided text box, and click "Connect."
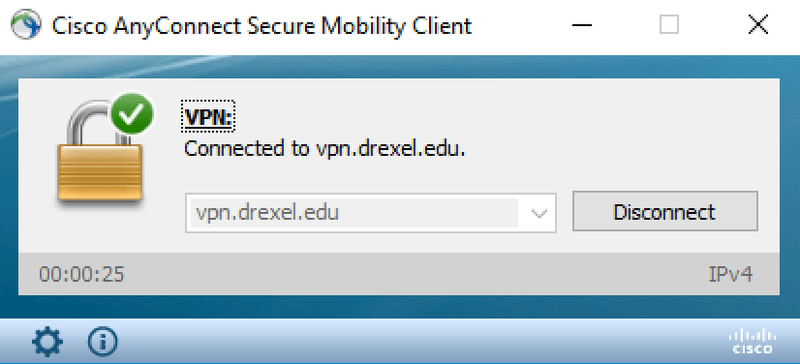
- The "AnyConnect" window will show that you are "Connected to vpn.drexel.edu."
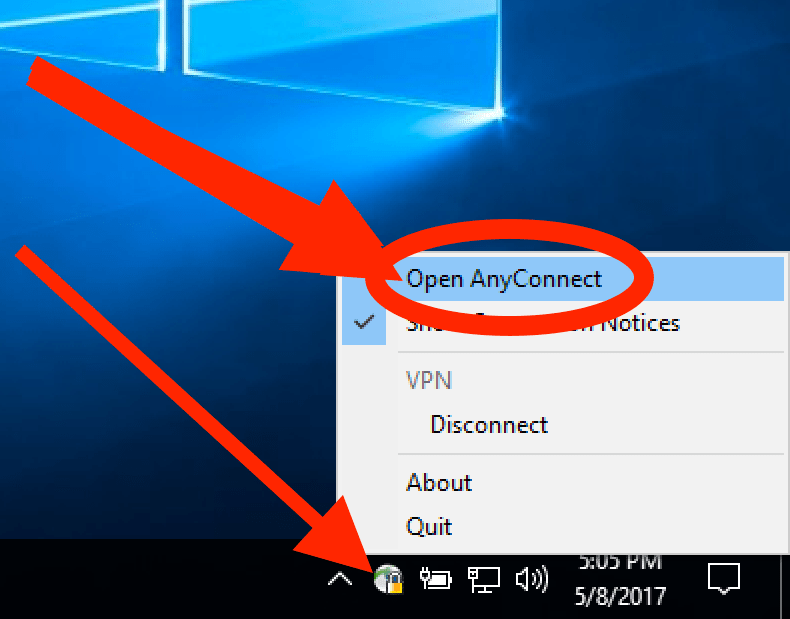
- The "AnyConnect" icon with a lock on it will appear in the lower right.
(a) Click the ^ if you do not see the link.
(b) Right-click the "AnyConnect" icon with a lock, to open the "AnyConnect" window again if it closes.
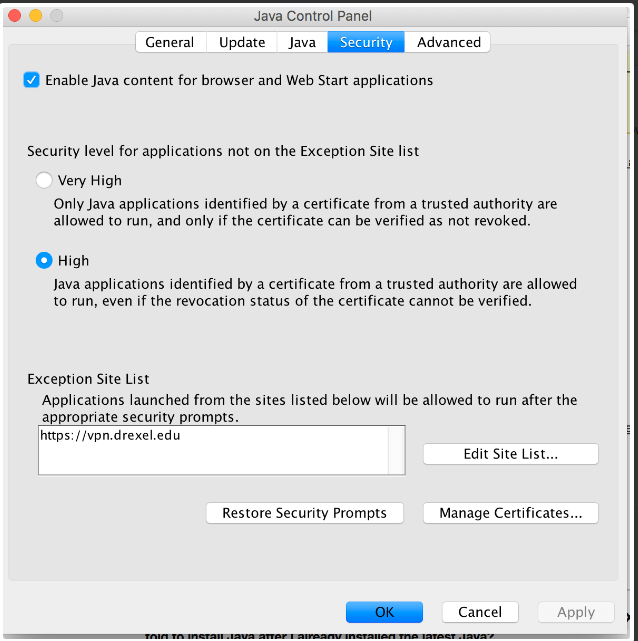
Problems using Java with VPN connected
If you have problems using Java with VPN connected, you'll need to open the Java Control Panel's Security tab and configure it to allow the Drexel VPN. Here's how.
- Open the Java Control Panel
(a) Windows 10 instructions
i. https://www.java.com/en/download/help/win_controlpanel.xml
(b) Mac instructions
ii. https://www.java.com/en/download/help/mac_controlpanel.xml - See the following screenshot for how to set the control panel to allow Java access in a Drexel VPN session.