
OpenShot Video Editor
Helpful Links and Info
- Download OpenShot: https://www.openshot.org/download/
- OpenShot's Own User Guide: https://www.openshot.org/user-guide/
- For Windows/Mac/Linux.
- Video editor ONLY.
- Completely free.
- Upload edited video to Kaltura Drexel Streams -- Adding Media to Bb Learn
Otherwise, you greatly slowdown Bb Learn for everyone.
How to Record Your Video First
- Use whatever works best for you and is available to you.
- If you are not sure what to use, record yourself in a Zoom meeting, and download the video file. Instructions below.
- Zoom -- Recording
Cannot Open/Edit a Video in OpenShot
- Use the free Handbrake app to convert video formats, like. mov and more, to mp4 or mv4 that OpenShot can use.
- Handbrake -- Smaller Video File Size or Converting Video
Basic Instructions
- Click + sign.
Then select your video to add.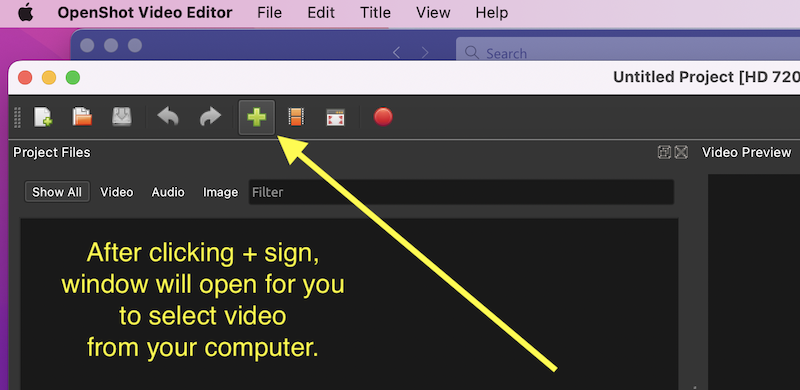
- Right-click (ctrl-click or 2-finger click) the movie clip.
Then click "Add to Timeline."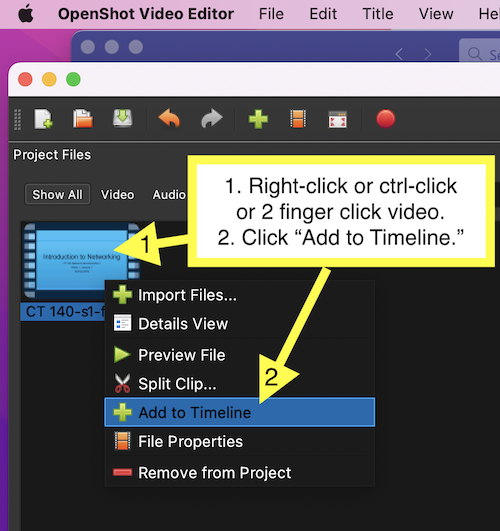
- Click OK to add video clip to timeline.
Agree to default settings.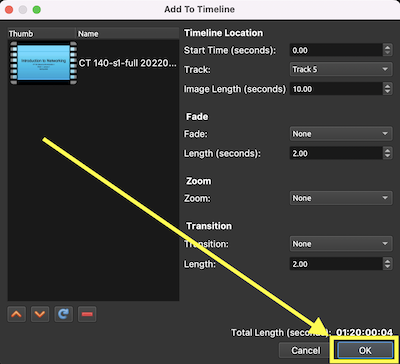
- Click |< to move play head to 0 seconds, or start of timeline.
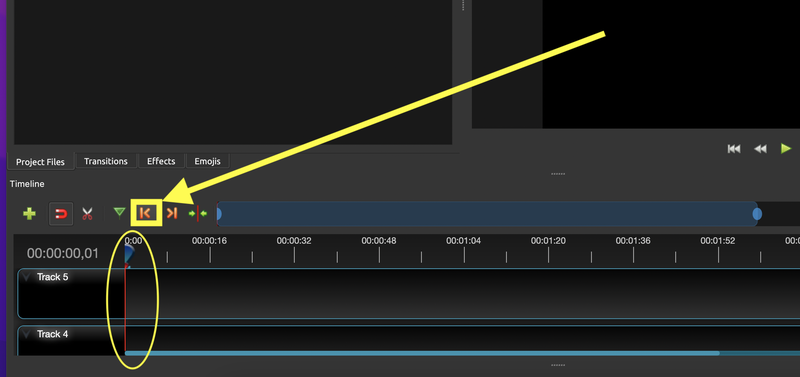
- If you want to add another video clip after the 1st clip.
Click >| to move play head to end of clip on timeline.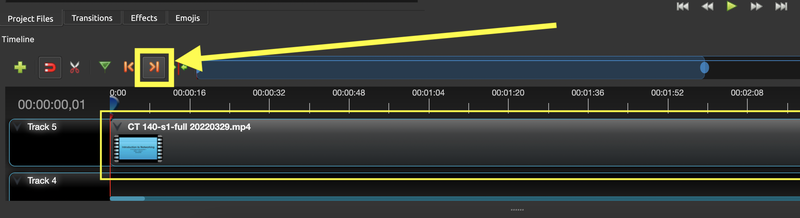
- Zoom bar lets you change the time intervals between the ruler hash lines on the timeline.
Vertical scroll bar lets you scroll up and down through tracks.
Tracks let you overlay images or video (or add audio) on top of other video.
Horizontal scroll bar lets you scroll left and right, or earlier or later, on the video timeline.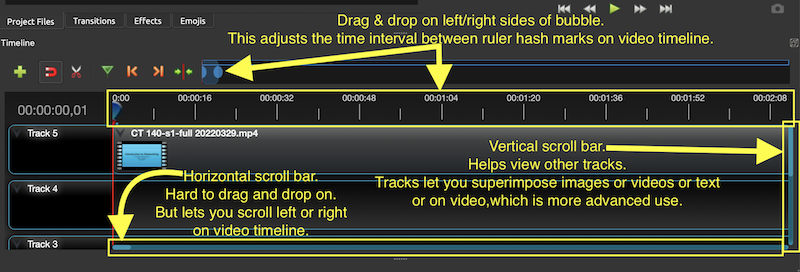
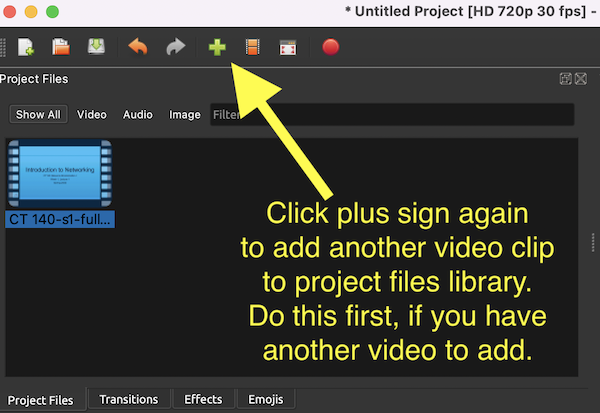
- If you want to actually add another video clip, click + sign again.
- As before, right-click (ctrl-click or 2-finger click).
And select "Add to Timeline" to add another video clip to the timeline.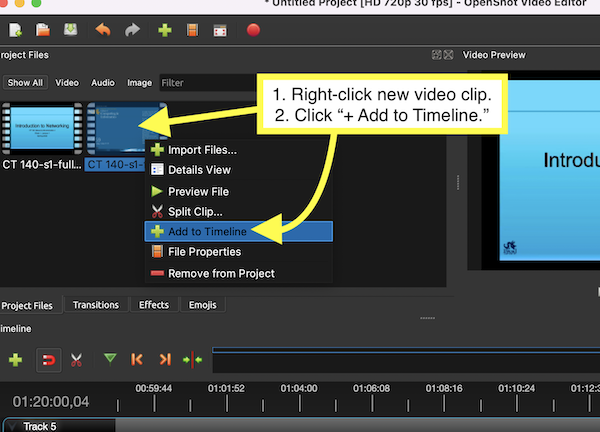
- Cut something out in the middle of the video?
Click scissors icon.
Then click the beginning of the part of the video you want to remove.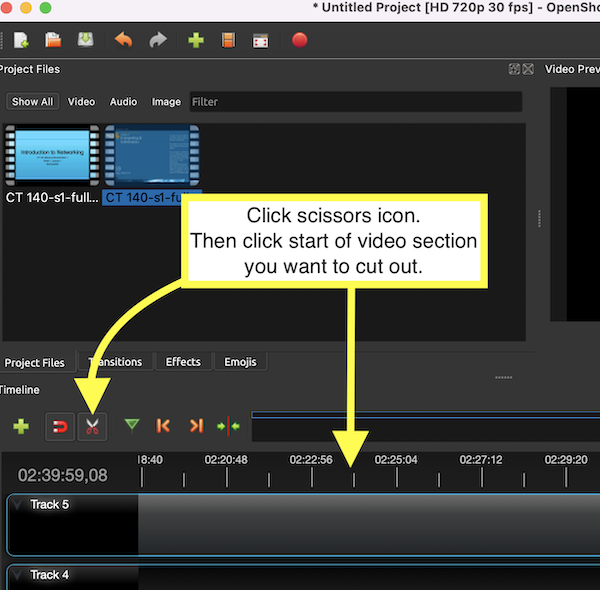
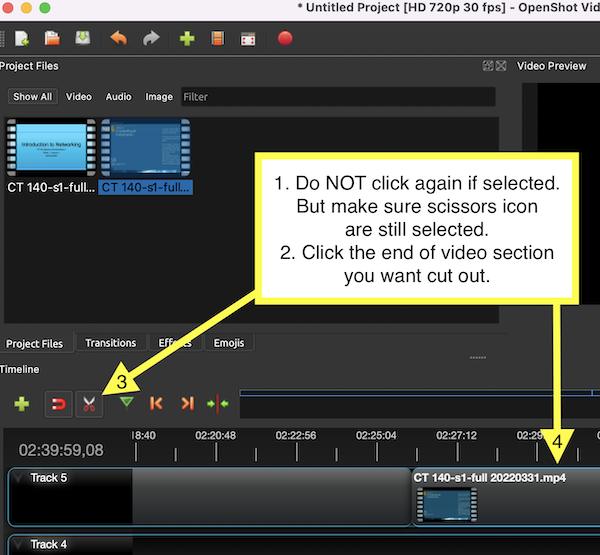
- Click the end of the part of the video you want to remove.
- Click the cut-out video segment you want to remove.
Press delete or backspace key to remove it.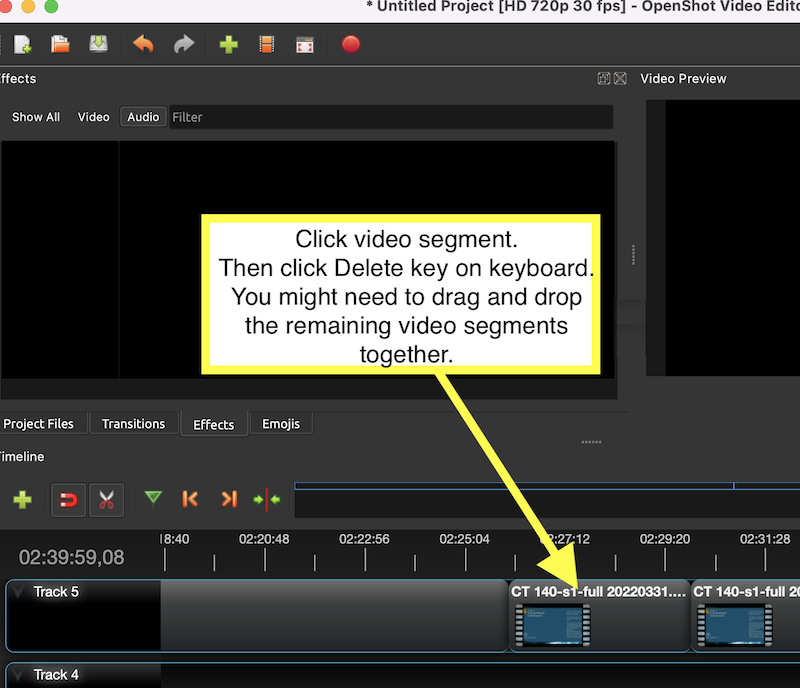
Saving Your Video Project & Exporting Usable Video
You need to save your project in case you want to edit it again. It'll be saved as a project file.
This project file is NOT something you can upload or share as a video.
So once you save your project file, you need to export your project as a usable video file.
Both are easy to do. Here's how.
- To save your video project, click "File" > "Save Project as."

- Save your project file to where you wish on your computer.
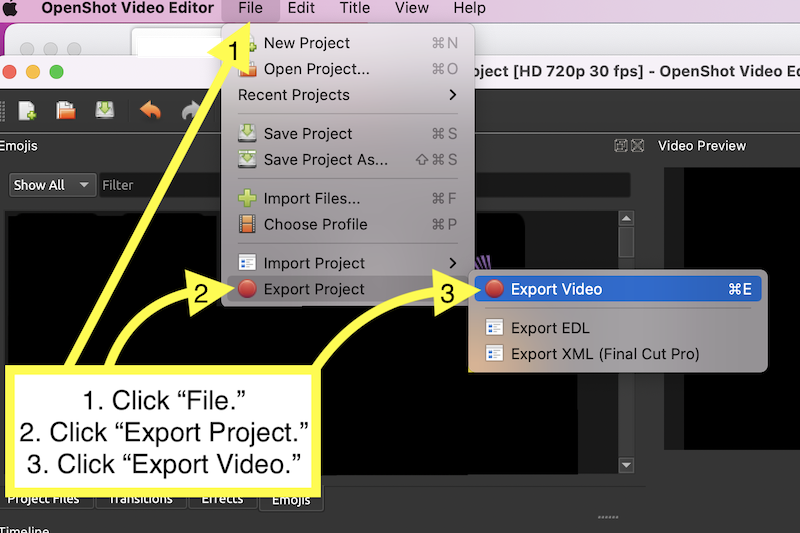
Make sure it's some place you'll be able to find later. - To export your project as a usable video file, click "File" > "Export Project" > "Export Video."
- Export video with the default settings.
Other good export options are 1080i 30fps or 720p 30fps.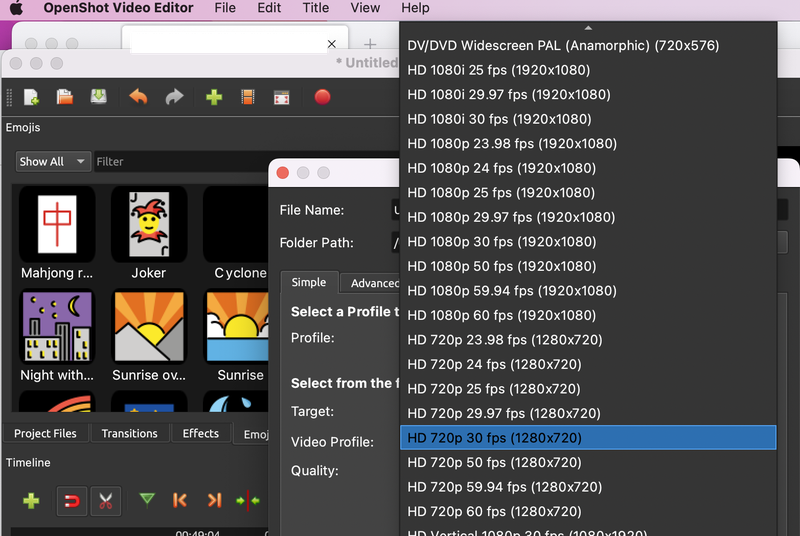
- Save the video to where you wish on your computer.
Make sure it's some place you'll be able to find later.
Kaltura Drexel Streams to Put on Bb Learn or Other Sharing
Use these instructions to upload your video to Bb Learn or Kaltura Drexel Streams.
- Instructors: Adding Media to Bb Learn via Kaltura or Drexel Streams
- Students: Kaltura Drexel Streams -- Adding Media to Bb Learn -- Student Instructions
Problems Uploading
- Try again.
Sometimes Kaltura or Drexel Streams has flukes. - Also, close/re-open your web browser.
- Or try a different web browser.
- If the video is said to be incompatible or too large,
Handbrake has been the free go-to for a long time to quickly solve those issues.
See Handbrake -- Smaller Video File Size or Converting Video