Adobe Acrobat Accessibility Tools
Follow these instructions for Adobe Acrobat accessibility:
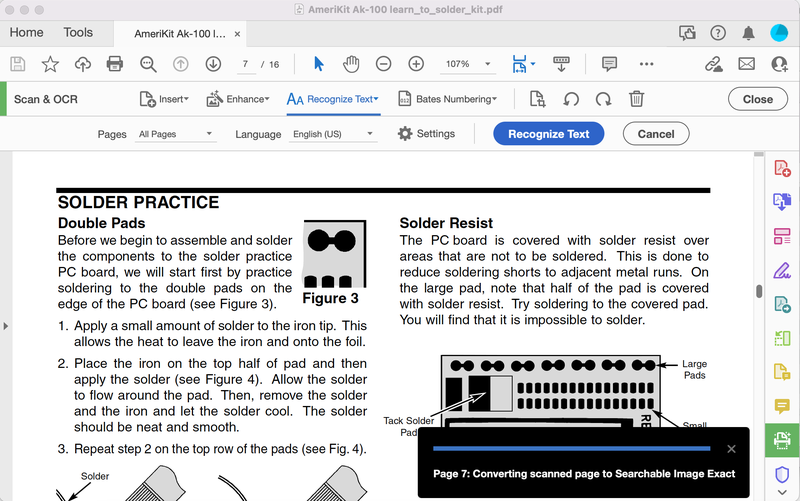
1. Open the file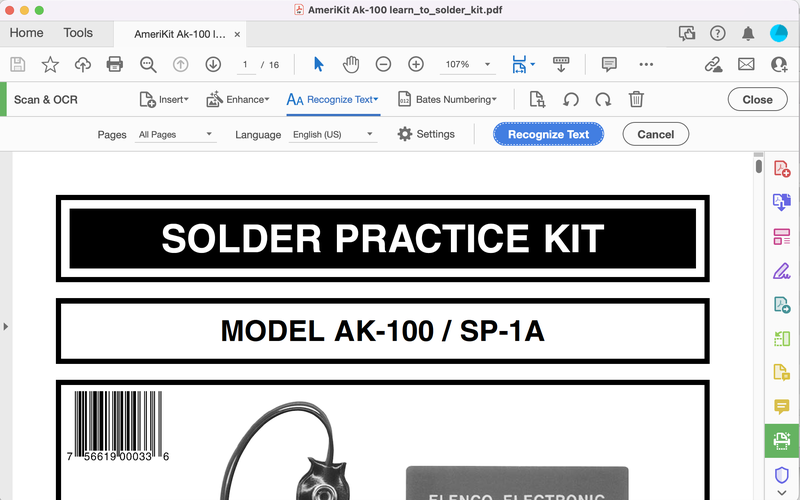
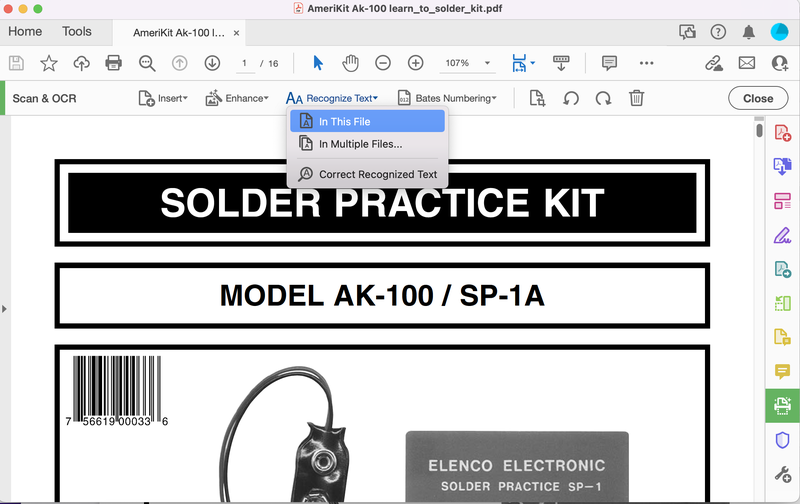
2. Select recognize text and the file you want it to recognize the text
3. Select the page(s)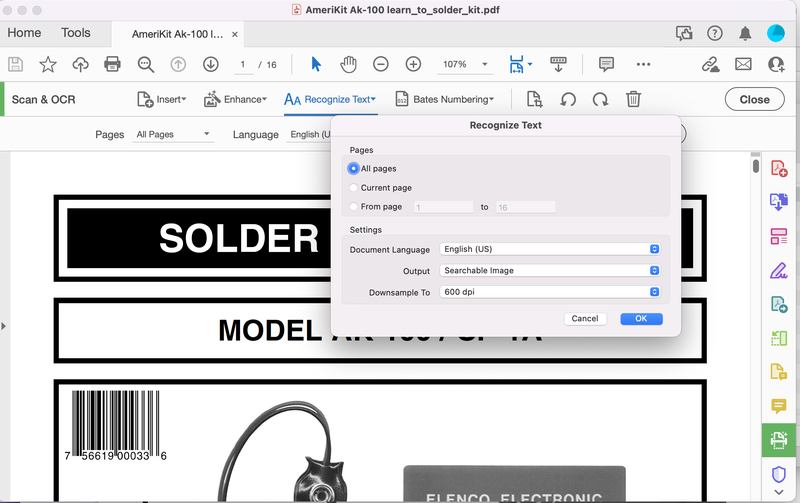
4. This tool will scan the page and make the image searchable by text
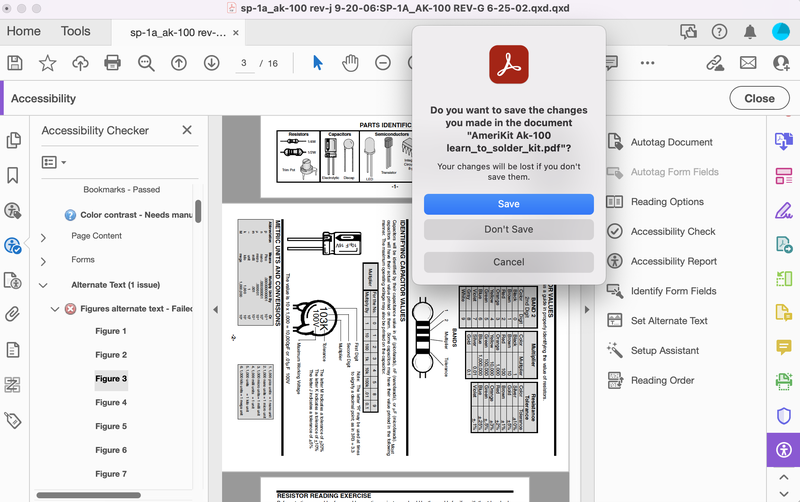
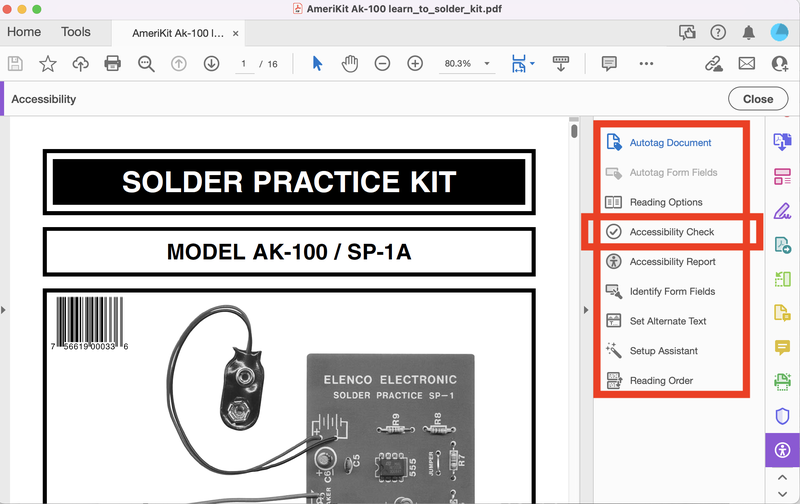
5. Go to "tools" and select the accessibility
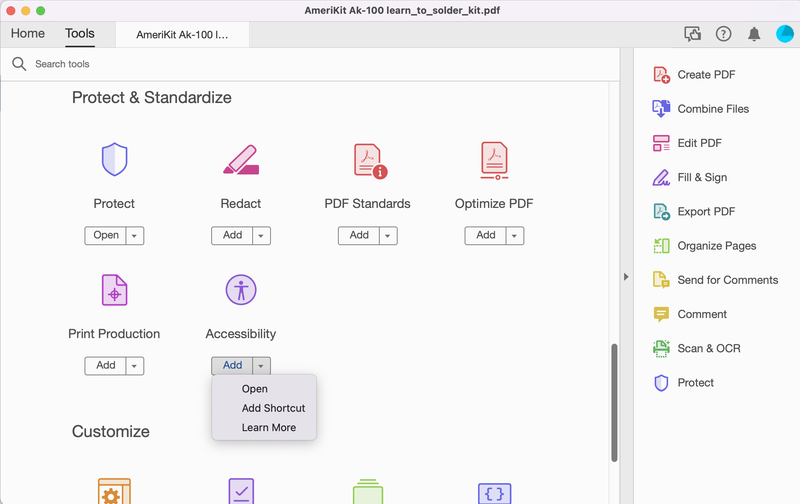
6. This will allow you to select the accessibility options you want to be checked for in your document
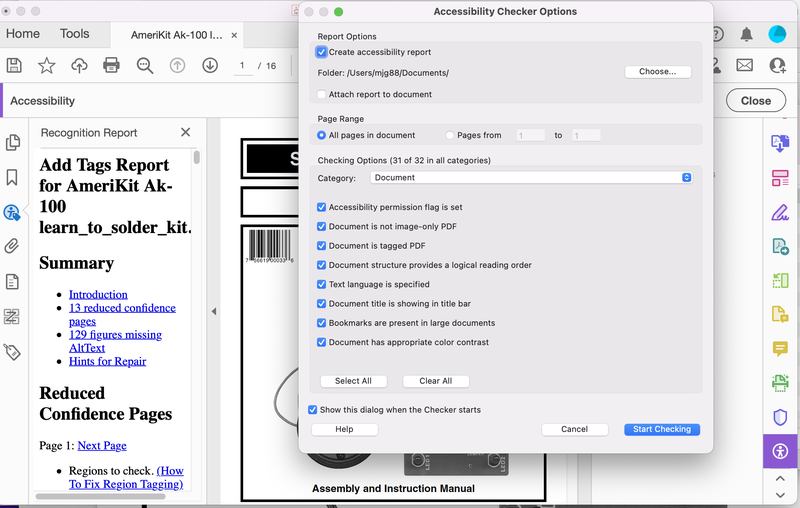
7. Go to "accessibility check"
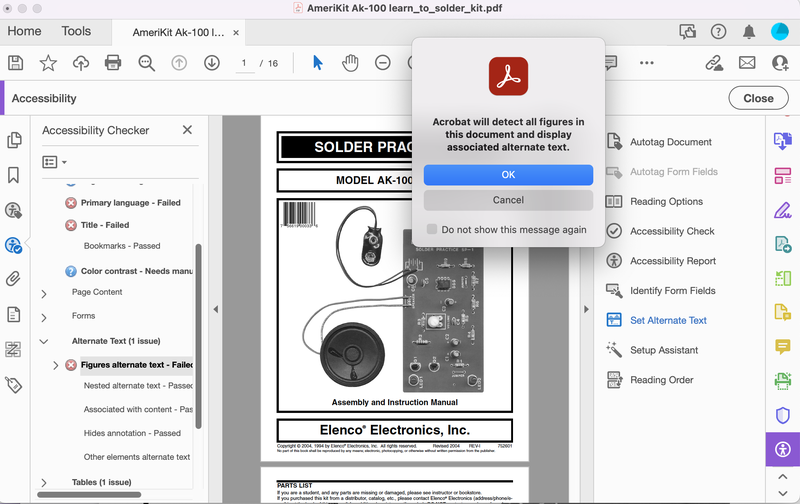
8. It will scan your document based on the selection you have made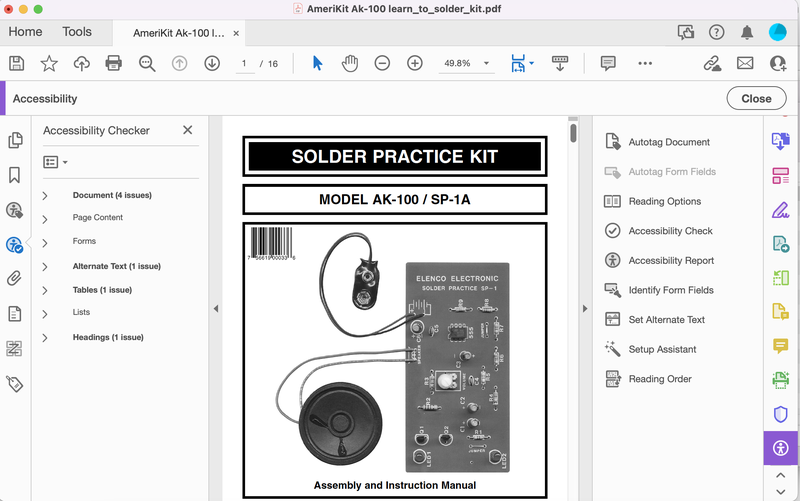
9. Select "ok" and Adobe will automatically do the accessibility checking
10. You can put an alternative text to the image text given

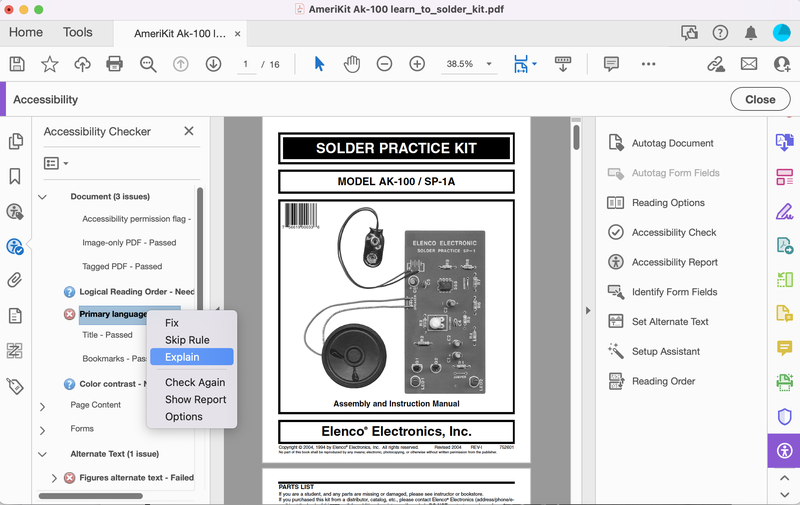
11. For the title of the image you can select "fix" to change the name

12. Select 'explain" to give further details
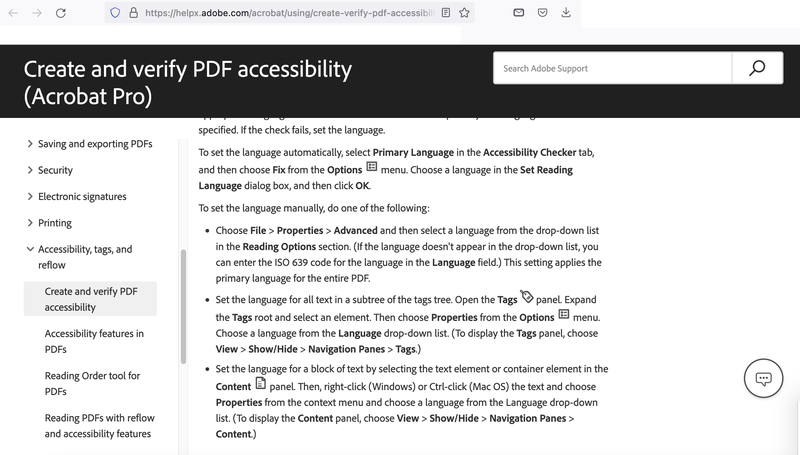
13. This page gives further details on how to change the language in the accessibility
14. This lets you know what issues there is with your alt text

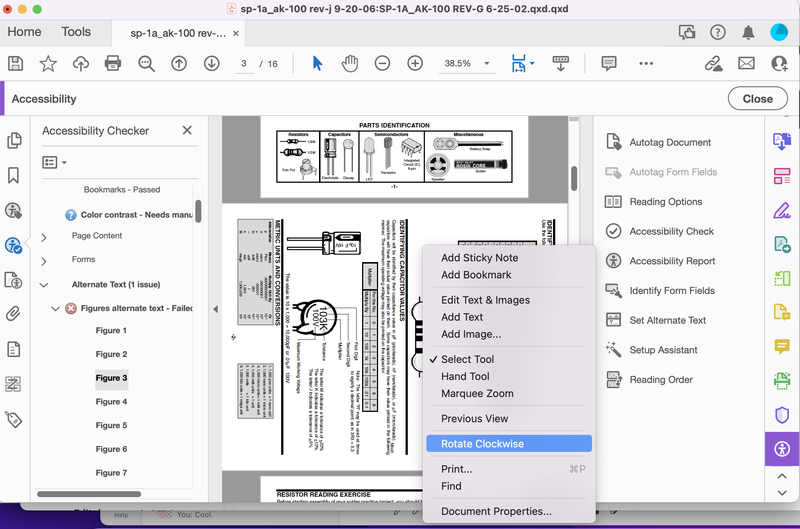
15. Select the image and then right click and select "select tool" to make changes
16. Remember to save changes made to the document