
Preparing A File For Flashforge 3D Printer
Introduction
*Types of files that are SUPPOSED to work:* .stl, .obj, .fpp ,.3mf, .png, .jpg, .jpeg, .slc or .bmp, but .stl and .obj are most common.
You need to run these files through the free Flash Forge FlashPrint software and export (really print to a file) to a .gx file.
You will use a USB flash drive usually to move the .gx file to the printer.
Then save your Flash Forge project as a .fpp file somewhere if you need it again.
Basic Preparation
Do NOT use tree like supports. They cause problem when 3D printing on our printer.
Ensure the printer's software FlashPrint is downloaded from: http://www.flashforge.com/support-center/flashprint-support/
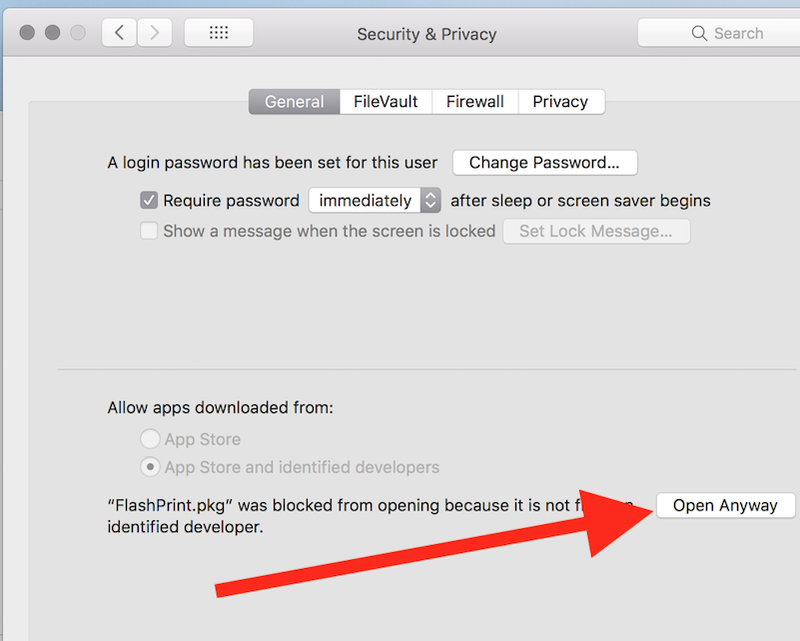
MAC USERS: You may need to go to Apple icon > System Preferences > Security & Privacy and click Open Anyway to run installation file for FlashPrint.
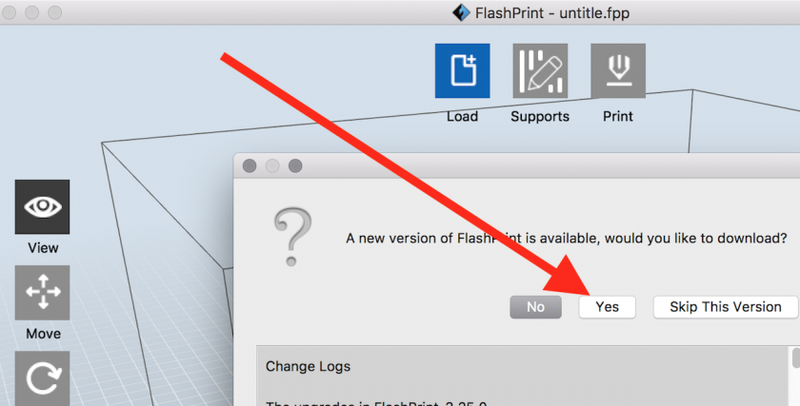
Update FlashPrint software in prompted. You can ignore firmware update if you want.
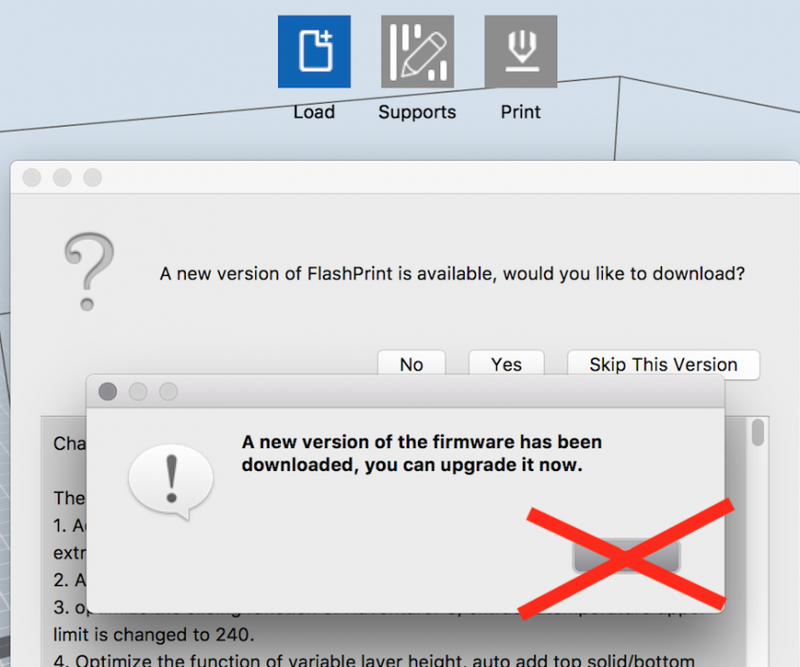
Press X to close Left Icon Buttons' Instructions prompt.
![]()
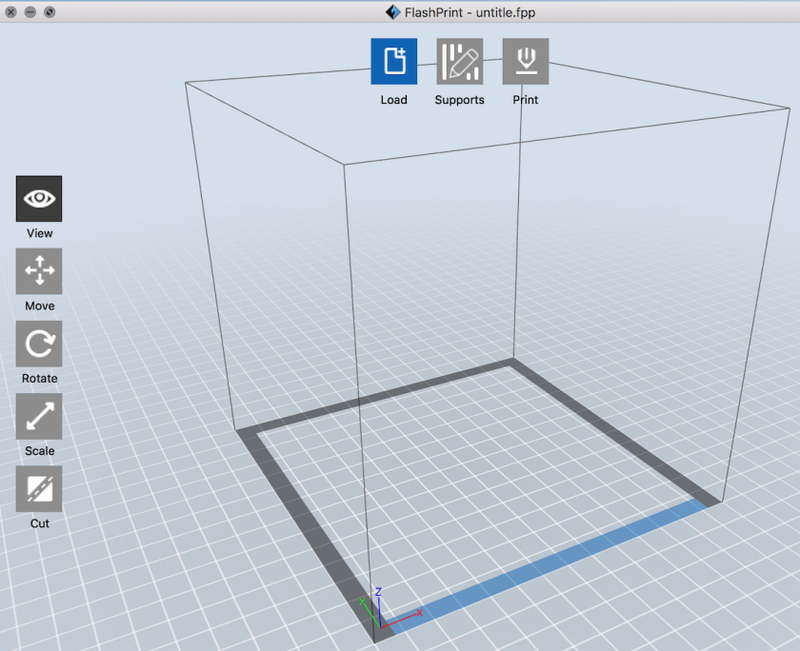
You will start with a blank FlashPrint project window.
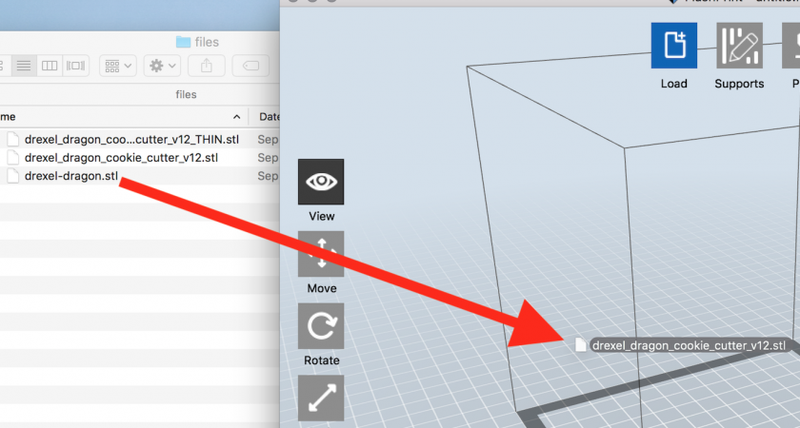
Drag the .stl or .obj file to the FlashPrint project window, or click Load to load the files.
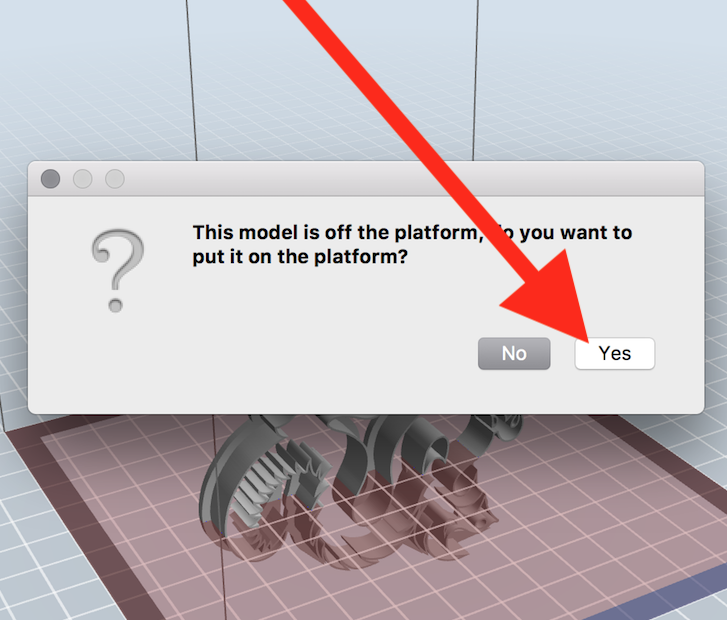
Click "Yes" if prompted to put model on platform.
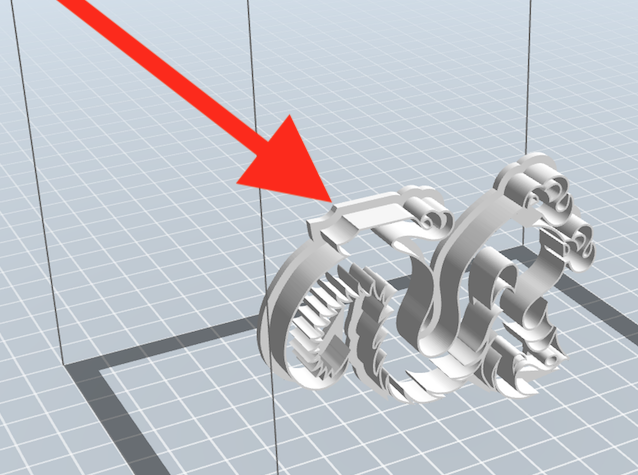
Make sure model is selected. Model should appear silver or very light gray.
If a message asking you to repair the file appears, it's probably best to let it repair it.
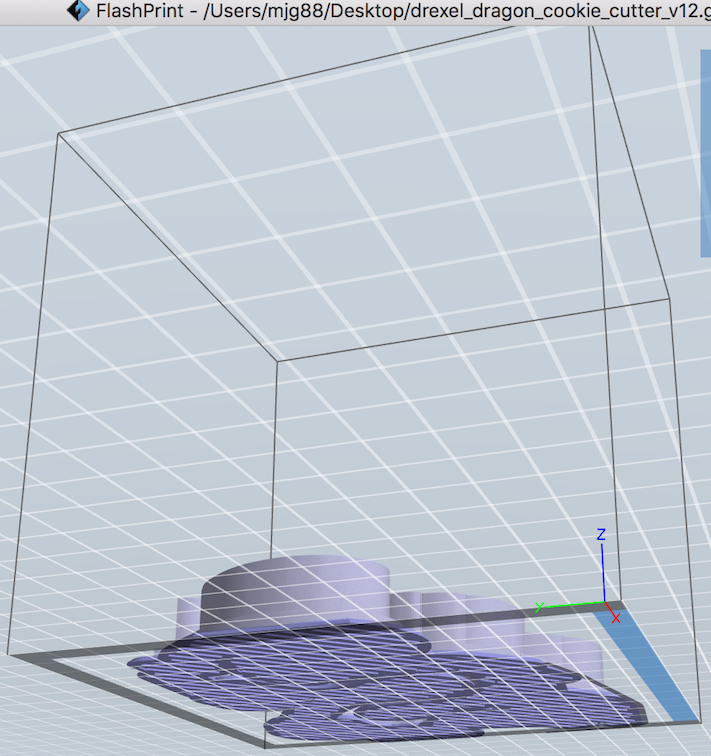
*When printing, you typically want the largest flat surface of the model to be on the bottom of the cube on the screen (the tray) to reduce how many supports may be needed.*
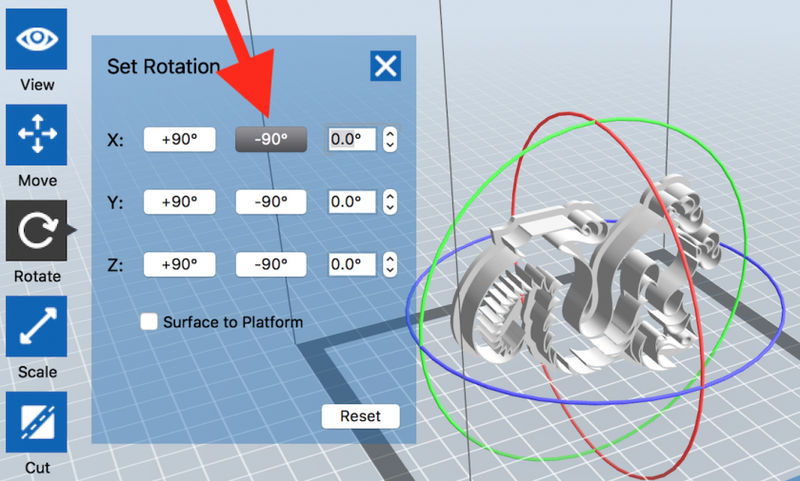
If you need to rotate the object, click or double-click "Rotate" icon.
Then use shown controls to rotate object.
In this example, you click -90 to rotate the model as you wish.
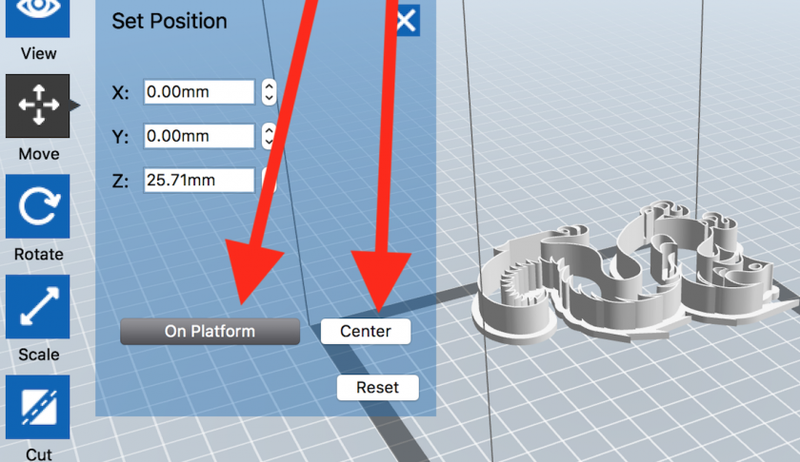
Once more, make sure model is "on platform" and "centered."
Click or double-click the "Move" icon.
Click "On Platform."
Click "Center."
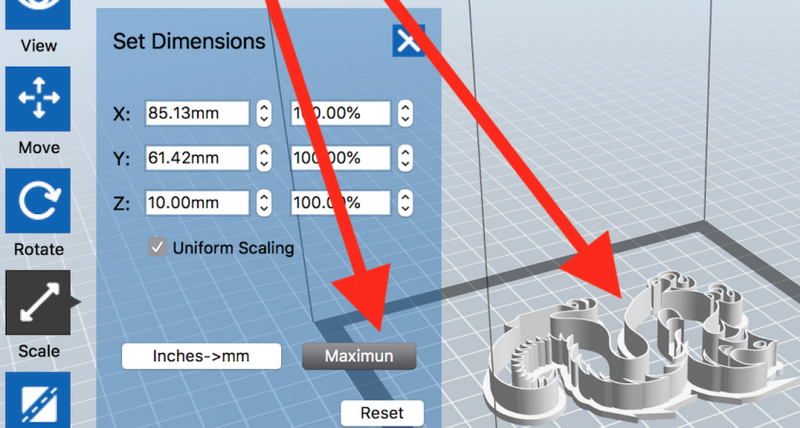
If you want to maximize the printable size of your 3D object:
Click or double-click "Scale."
Click "Maximum."
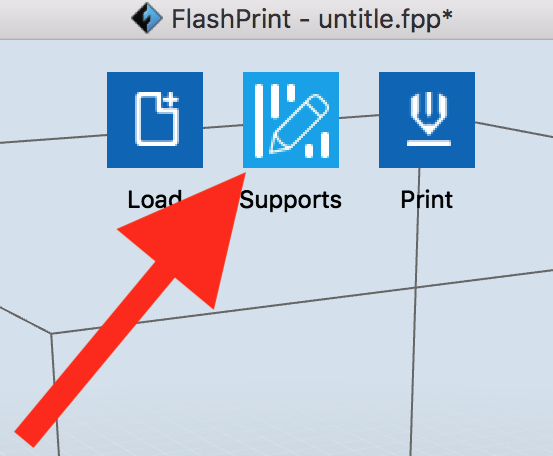
Now add Supports by clicking "Supports."
This model probably doesn't need them, but it's surprising which do.
So it's usually a good idea to add them, and it usually harms nothing.
Also, sometimes you won't see Supports added, or no supports will get added. Try looking at the bottom of the print (see below), but sometimes they don't get added at all because they are not needed.
If supports or auto-supports disappear, repeat the process of adding supports, and don't click the "Supports" button again.
Supports can usually be easily removed later, unless the object is very delicate.
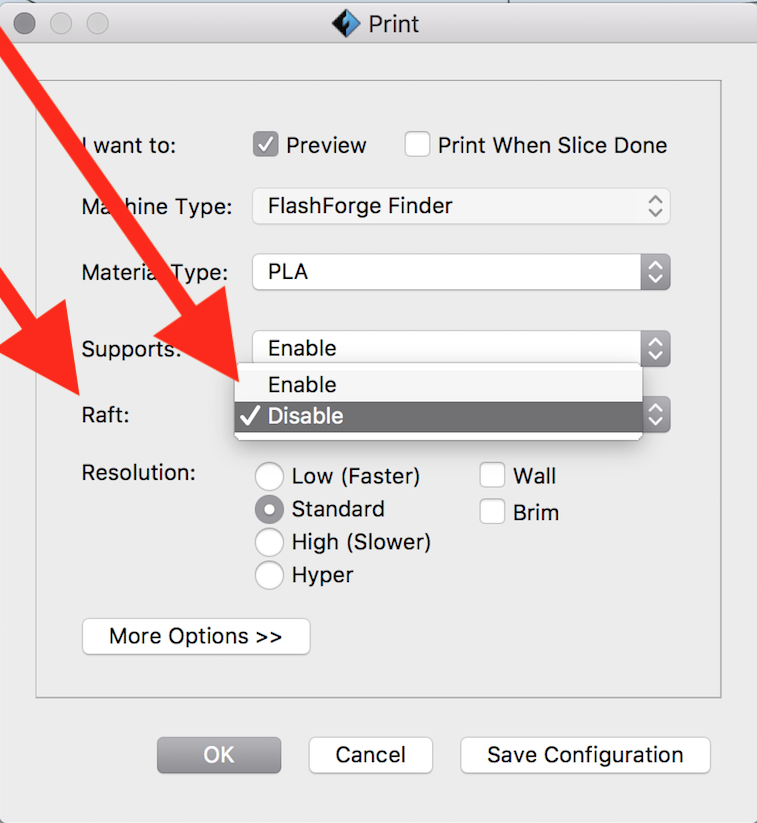
Click Support Options > Linear > OK.
NO Treelike supports. They cause gaps in the 3d print.

Click Auto Supports
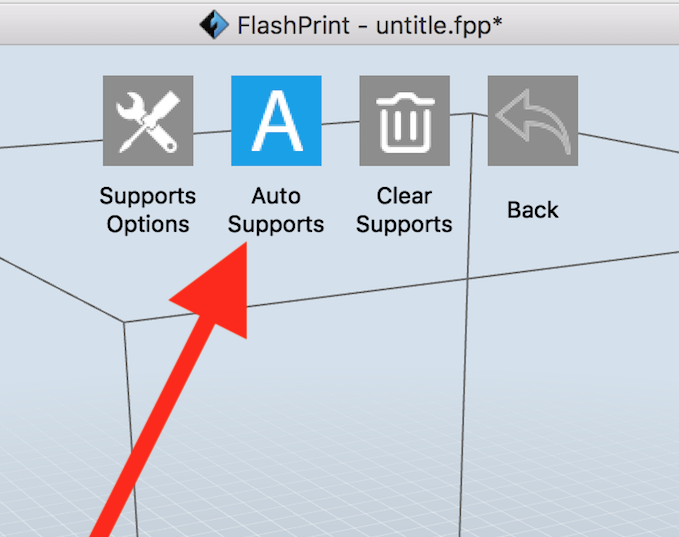
Wait for Support Generation to finish.
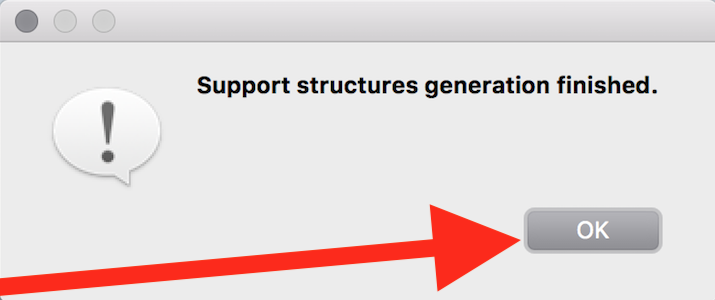
Click Back to exit Support options.
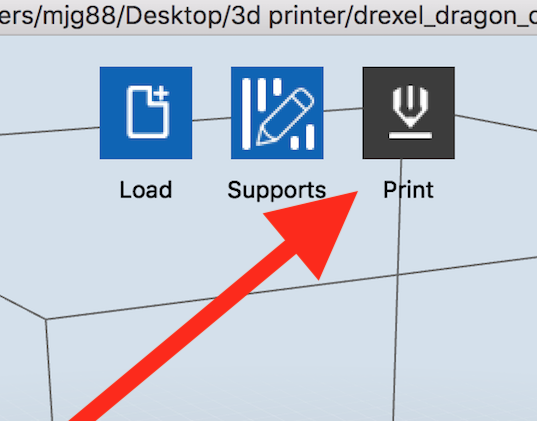
Click Print to print the 3d model (usually to a file).
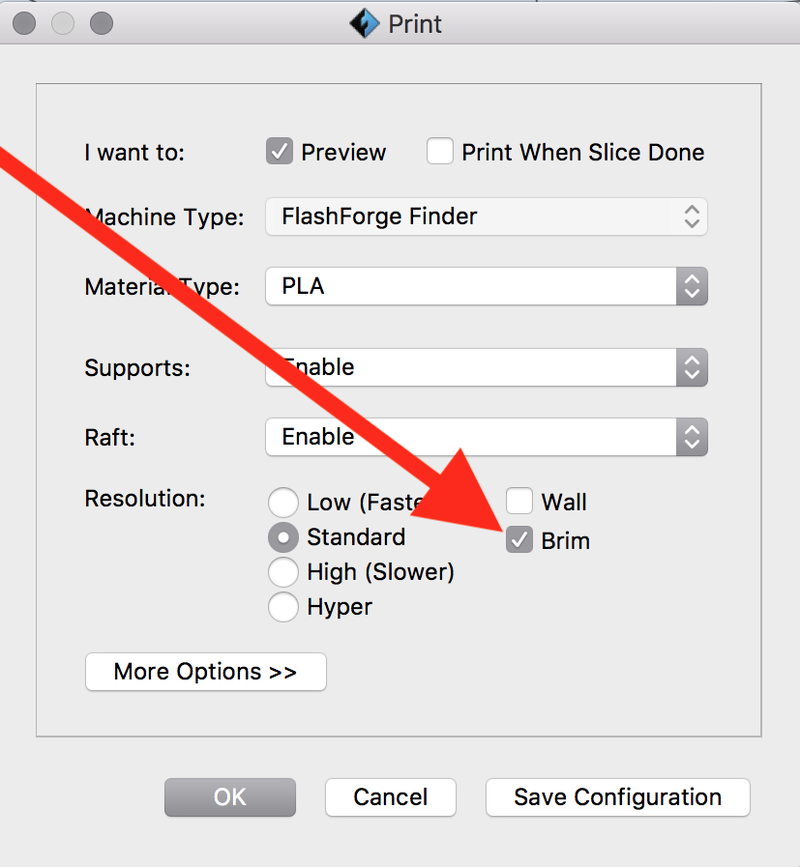
Check the Brim option almost always to help ensure the 3d print's corners (especially for larger prints) do curl up from the 3d print tray.
Enabling the Raft option is often recommended, especially for larger 3d prints.
It provides a very solid foundation during print that really helps the print not curl up from the tray.
It's like a much thicker brim.
Choose for Resolution Prints.
Lower resolution print faster, but if you have a lot of detail in your print, you want High or Hyper.
If you're not sure, try the Low resolution first.
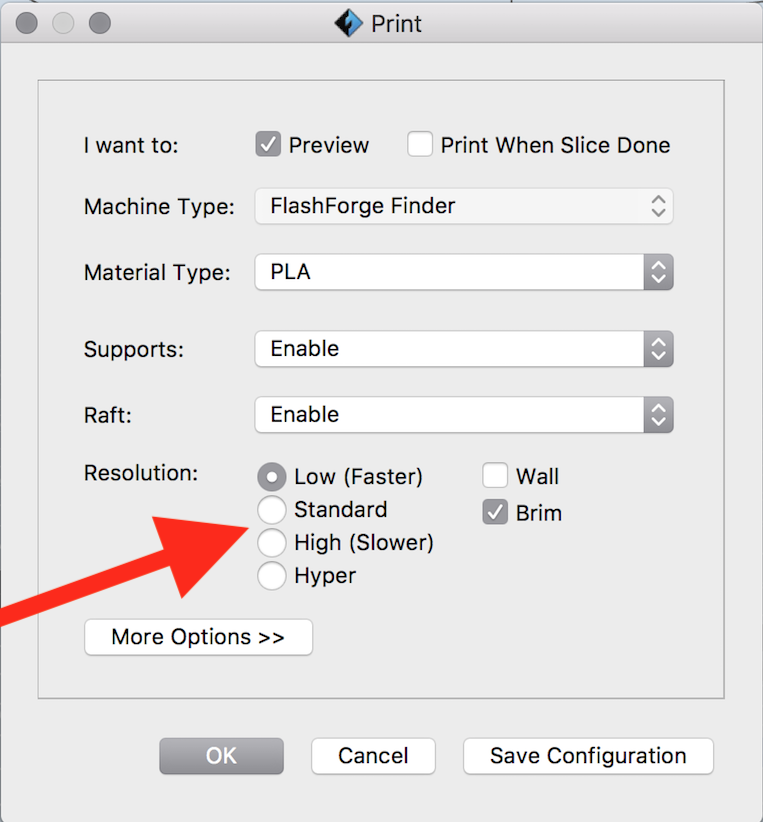
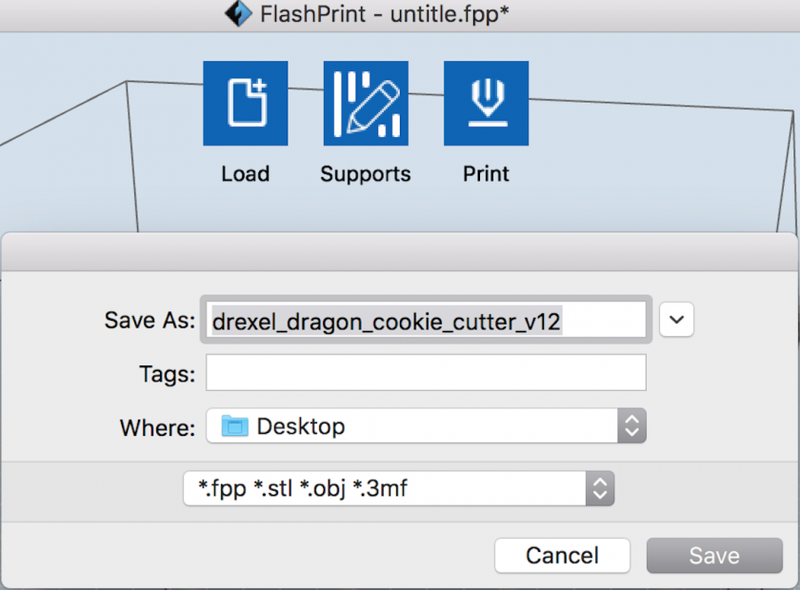
Click OK, and the FlashPrint software will ask where to "print" or save a .gx file to a place of your choosing on your computer.
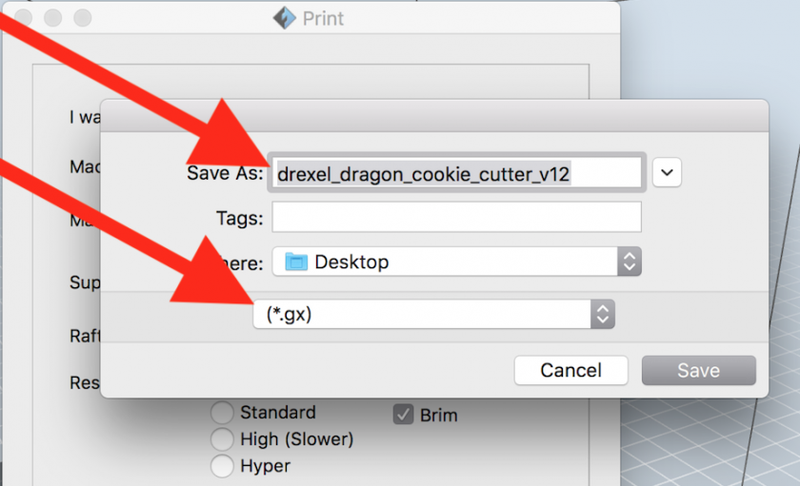
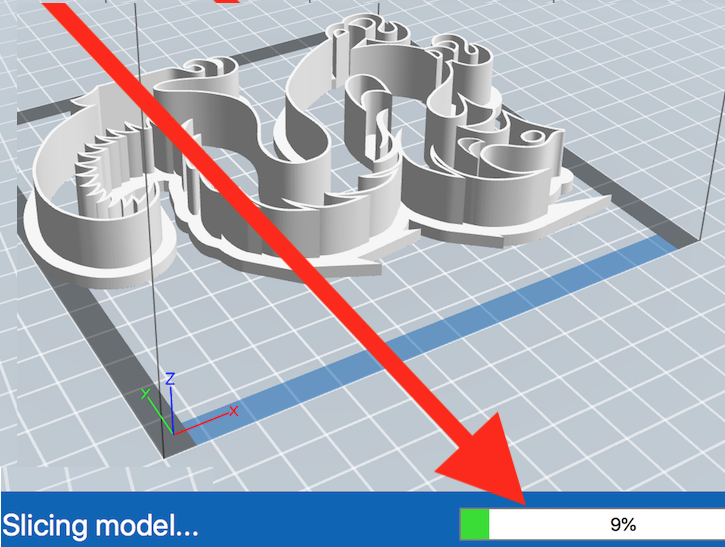
Click Save, and the FlashPrint software will start "slicing" or creating the .gx file you will use on the 3d printer to print the 3d object.
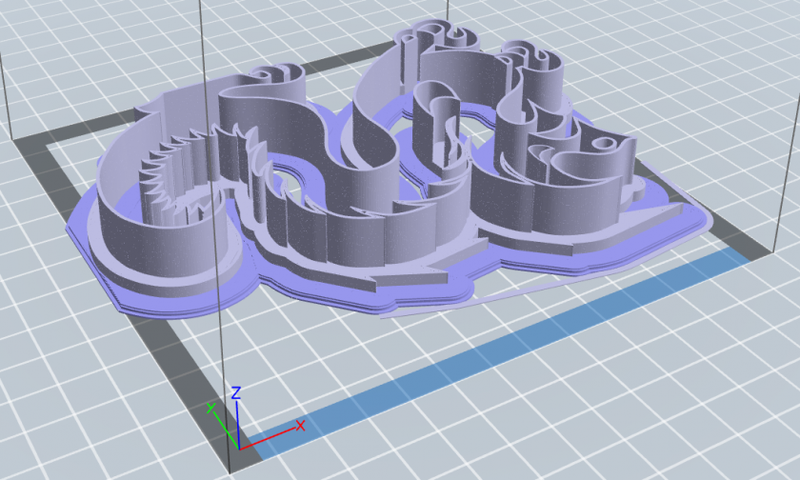
Here is an example of a "sliced" or finished .gx build file, with a raft and brim.
Save your project as a .fpp file for later re-use or further editing.
You are ready to print.
Now see Printing with the 3D Printer.
Viewing Angles
If you use 2 fingers on a touchpad on a Mac laptop, possibly on Windows laptops too, you can get some unique views of your 3d print.
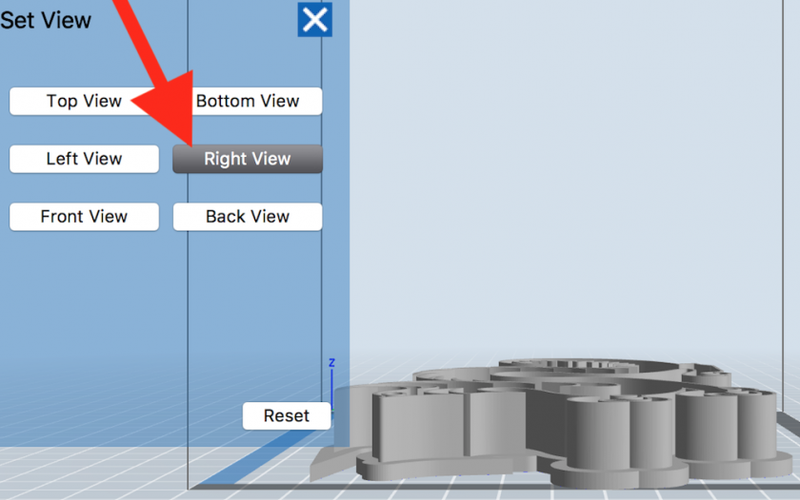
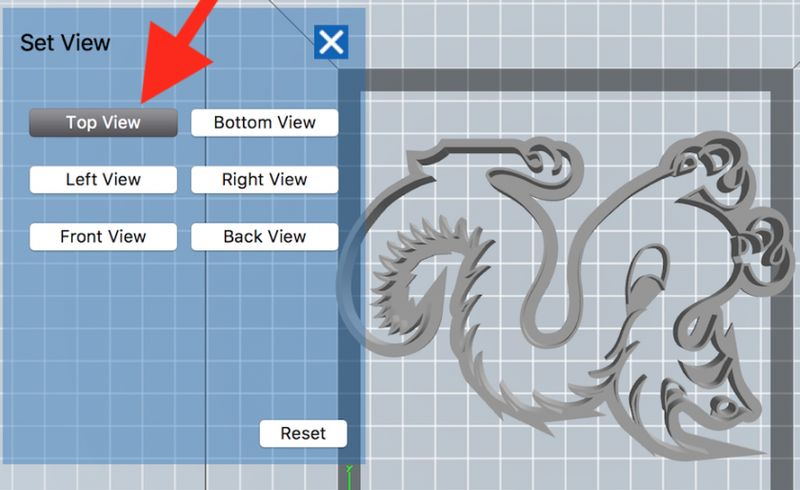
But you can also click or double-click the "View" icon (click "Back" if you do not see this), and get preset views, like "Top View" or "Right View."
Alignment
To MOVE the object: first select the object by clicking on it, then click the Move option on the left. You can then drag it in the x and y directions or manually move it by double clicking the Move option on the left and manually entering coordinates (as far as I can tell, this is the only way to move it in the Z-direction). You can also automatically put the object on the platform and center it.
To ROTATE the object: first select the object by clicking on it, then click the Rotate option on the left. You can drag along the red, blue, and green lines to manually rotate the object in the desired direction. In the Rotate menu to the left, there are 90 degree rotation buttons and a way to manually insert degrees to rotate. A really useful option is "Surface to Platform"; after selecting it, click on a surface of the object to find a suitably flat surface, then double click it to make that surface automatically align itself to the platform.
To SCALE the object: first select the object by clicking on it, then click the Scale option on the left. There is the option to scale the object uniformly which will affect all methods of scaling. You can click on the object and drag in direction to scale. You can insert a percentage change that will scale the object based on the size it was when you selected it. You can also manually type in the size in millimeters. If you'd like to use inches, type the inches in the boxes, ignoring the fact that it shows mm, then click "Inches->mm" or vice-versa to switch back.
To CUT the object: first select the option to cut, then choose from the drop-down menu if you are cutting on the X, Y, or Z axis. Try each option to see where the cut will be. You can draw a cut too, but it can be very imprecise. You can also choose whether the parts will still be touching after the cut, or if the parts will be separated and moved away from one another after the cut.
Supports
Supports would typically be used for parts of a print that would print in midair or for some sort of overhang.
Click the Supports option at the top if you want to use supports.
For Support Options, there is treelike and linear. Treelike seems to be more useful, but linear can definitely be better for some situations. Base it off the shape and orientation of the object.
*NO TREE-LIKE SUPPORTS! They cause the printer to skip printing some layers. Very weird bug.*
Auto Supports with automatically generate support structures based on your support options.
You can also manually add supports by click and dragging in the 3D space. This tends to be more useful and easier to use when using linear supports.
To switch between adding and deleting supports, there are two selections on the left of the screen aptly named "Add" and "Delete."
Press "Back" when you are done adding supports.
Printing
Choose the "Print" option at the top.
It will not show you the preview until after saving the print file. If you want to go back and change a setting, just click "Back" and try again.
Material Type: PLA
Supports: Enabled
The raft option adds a stand or "raft" underneath the object that it will print on. It is fairly easy to break off after the print is done.
The brim option prints a brim around the bottom of the object that is easy to break off. This can help the edges of the object not warp as much.
Resolution.
Affects print speed
Standard should be the default.
Low for bigger objects where detail doesn't really matter.
High for objects where smaller details might matter.
You should be ready to print now.