
Adding PaperCut printers to a Drexel Mac
How to add a PaperCut printer to macOS, for Macs owned and managed by Drexel SCIS
Most faculty and staff should have the new PaperCut printers show up automatically when their Drexel managed Mac connects to the Drexel network. If it is not installed automatically, you can follow the below steps to add it manually.
Open Self Service from your Applications folder or Launchpad. Its icon looks like this:

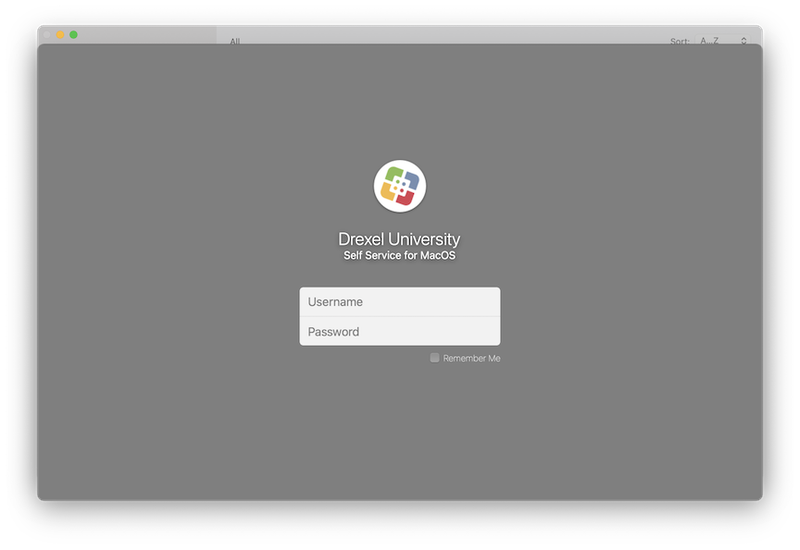
Next, log into Jamf with your Drexel username and password:
Once logged in, a list of available applications will appear. Among these, you should see an application called "CCICopiers Installer". If this has already been installed, the text beneath it will say "reinstall". If your computer has never had the printers installed, it will say "Install". Click either the "Install" or "Reinstall" button to add the printers to your Mac.


If all went well, you should see two new printers on your Mac. To check, navigate to System Preferences, in the Applications folder or Launchpad. Its icon looks like this:

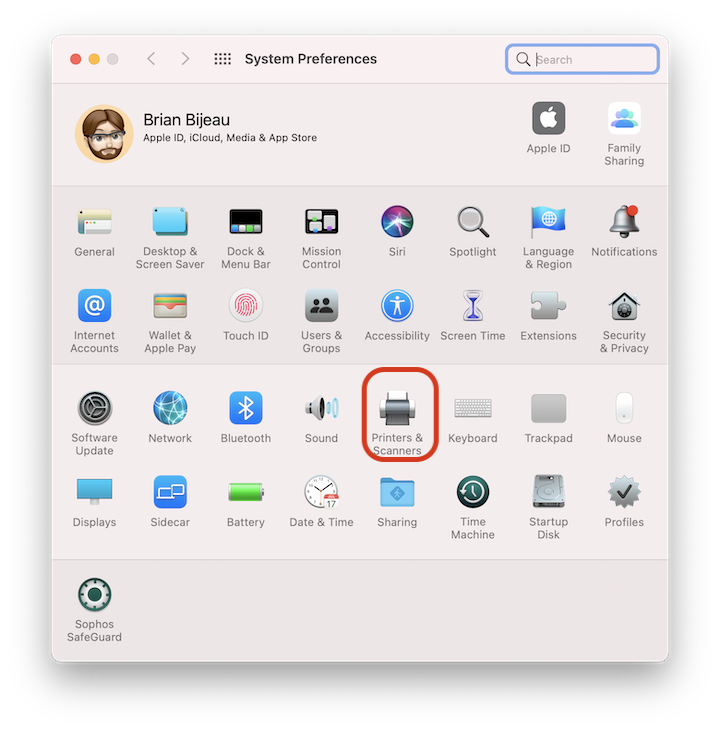
Click on the "Printers and Scanners" preference pane:
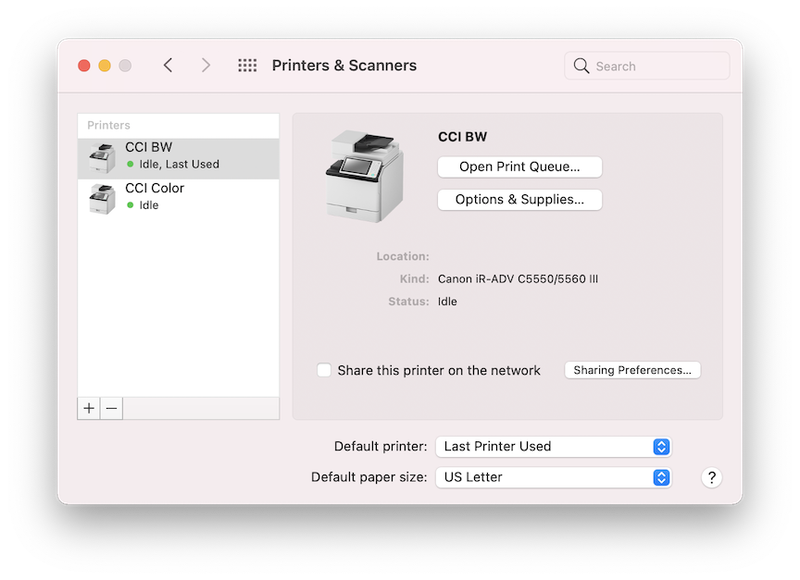
You should see two printers, SCIS Color and SCIS BW. If you do, continue to ((link_to_how_to_print_with_papercut)).
TROUBLESHOOTING
If the machine is added but is not accepting jobs:
- Check that you can firstly see the papercut machine ("SCIS Color") in Printers & Scanners to ensure setup was successful
- Make sure you are on Dragonfly3 or Drexel VPN
- If you are on Dragonfly3: ensure you have removed configured DNS addresses from IPv4 and/or IPv6 network settings. This is very important for Mobility Print to work. Link below shows instructions for this.