VS Code for Mac -- Visual Studio Code from Microsoft
Also covered below is connecting to Tux with VS Code.
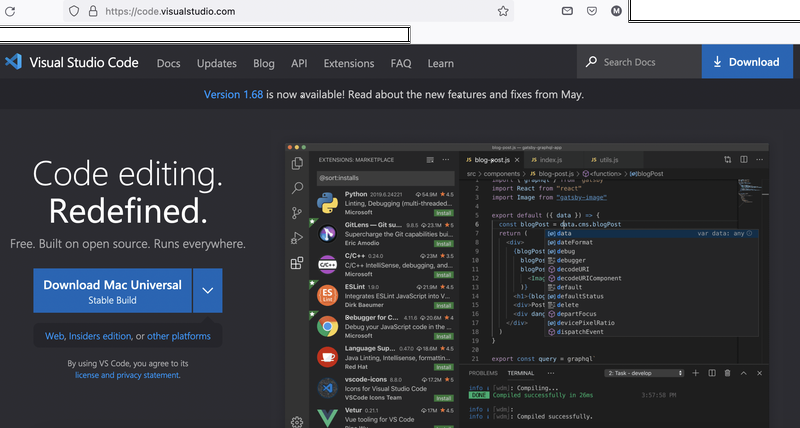
1. Download here
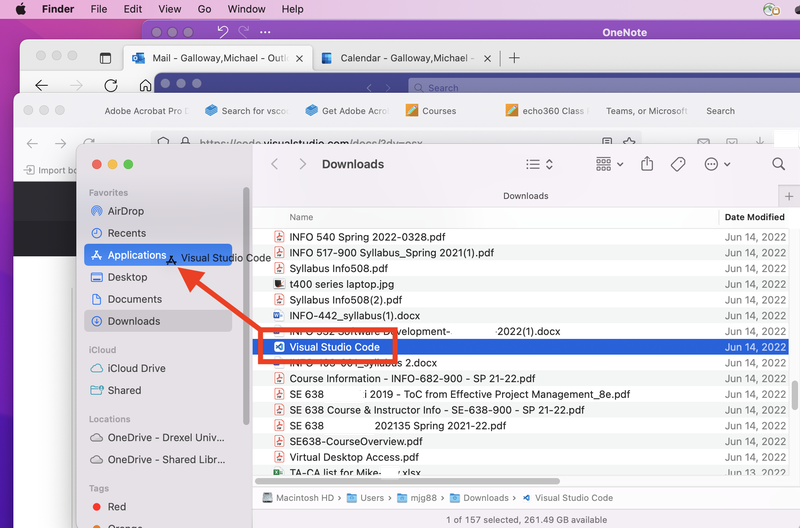
2. Move downloaded file from downloads to application in Finder
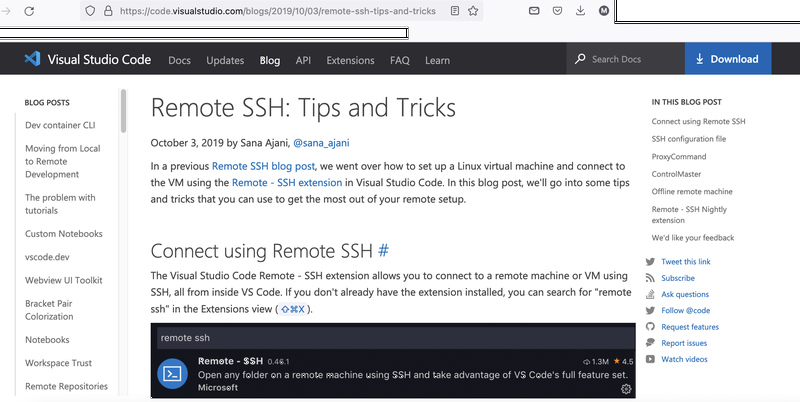
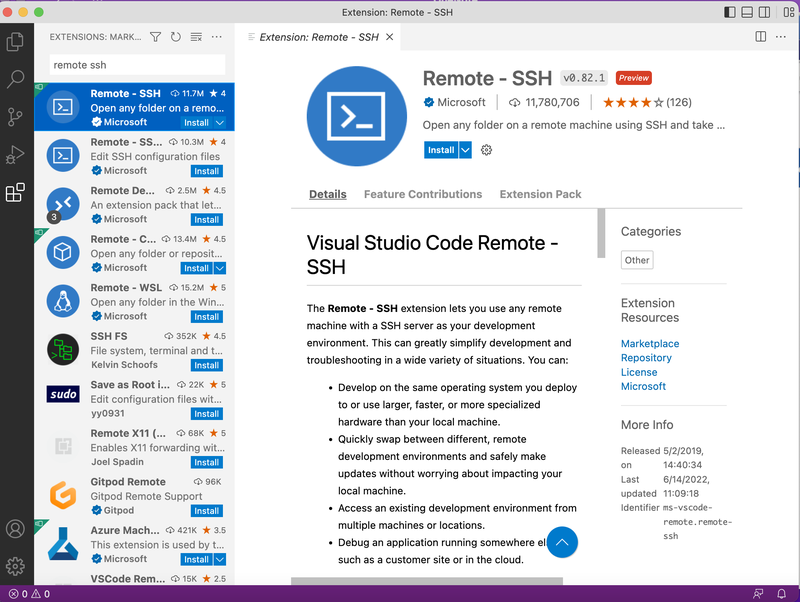
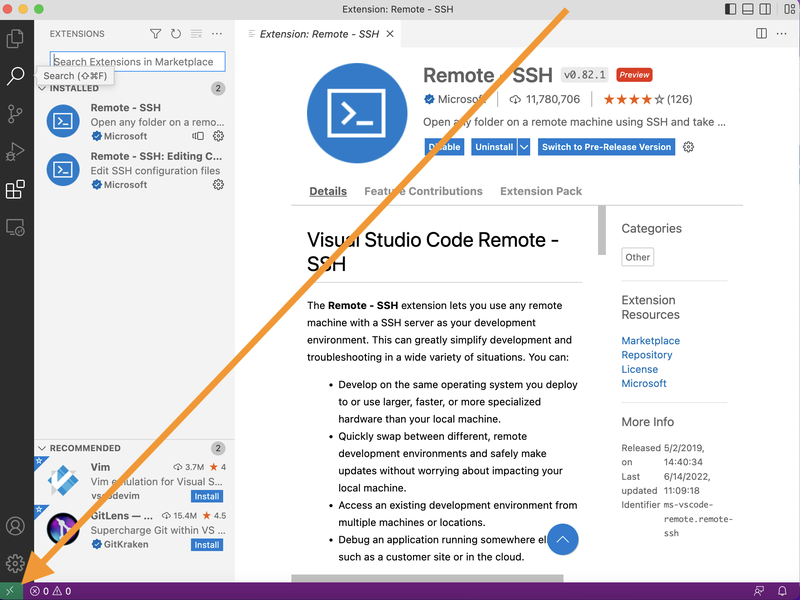
3. Connect using Remote SSH
4. Adding Remote SSH as an extension to VS Code
5. Configure VSCode to connect securely to Tux (REQUIRED)
By default, VSCode uses a TCP port to talk to the VSCode server on remote hosts. This is insecure on multi-user systems like Tux, as any user can connect to your TCP port and there is no security applied on this port. Thus, you MUST configure VSCode to use Sockets to talk to Tux, as this uses socket-based communication which is more secure on multi-user systems.
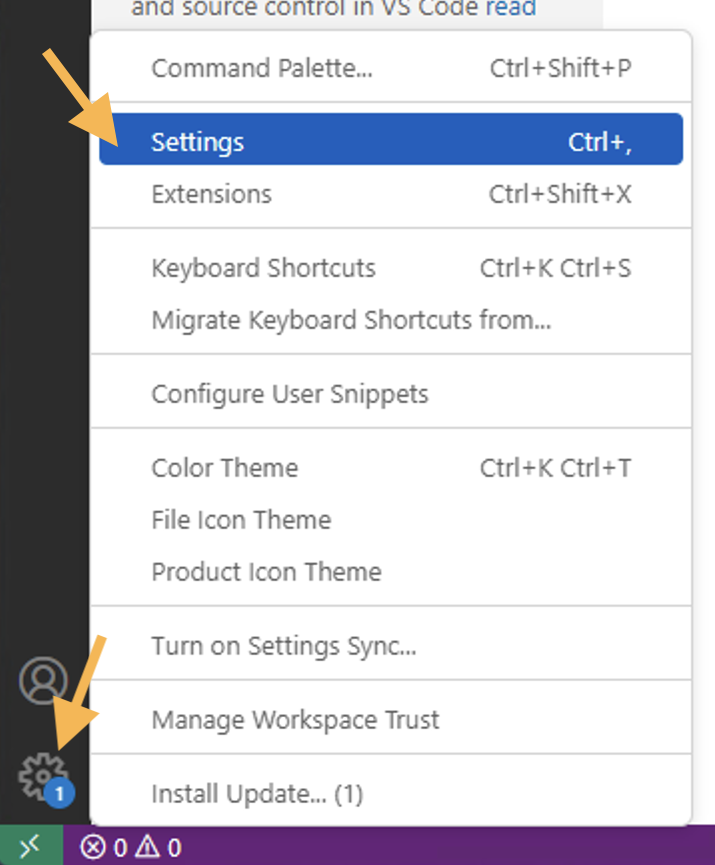
5A
Open Settings from the Gear icon at the bottom left of the VSCode Window:
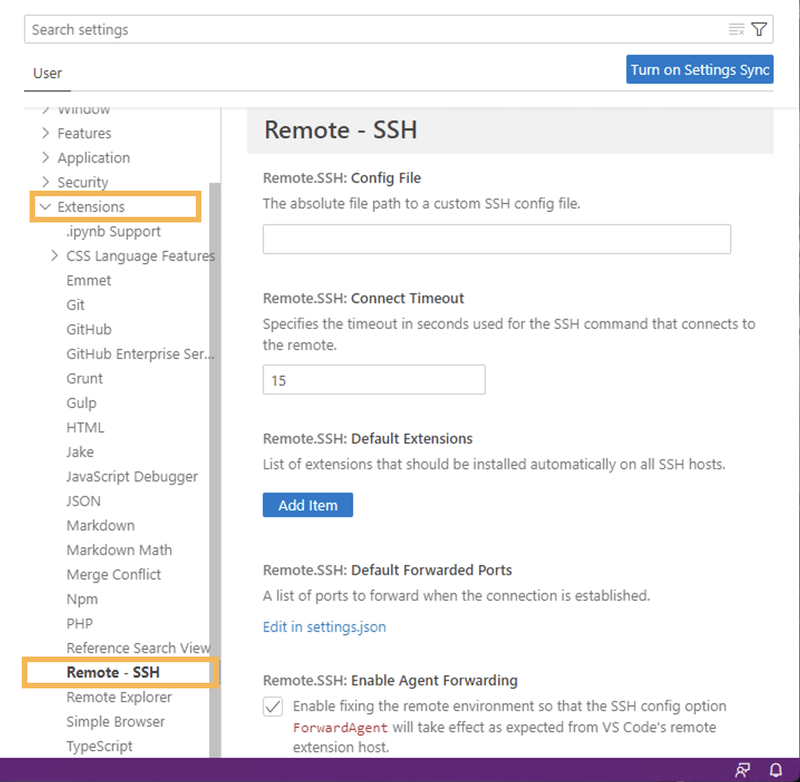
5B
Find Extensions and expand it, then find Remote - SSH and select it.
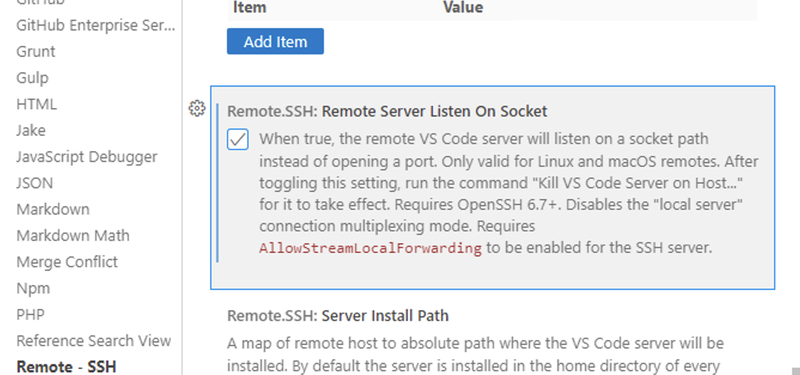
5C
Scroll down to "Remote.SSH: Remote Server Listen On Socket" and enable this.
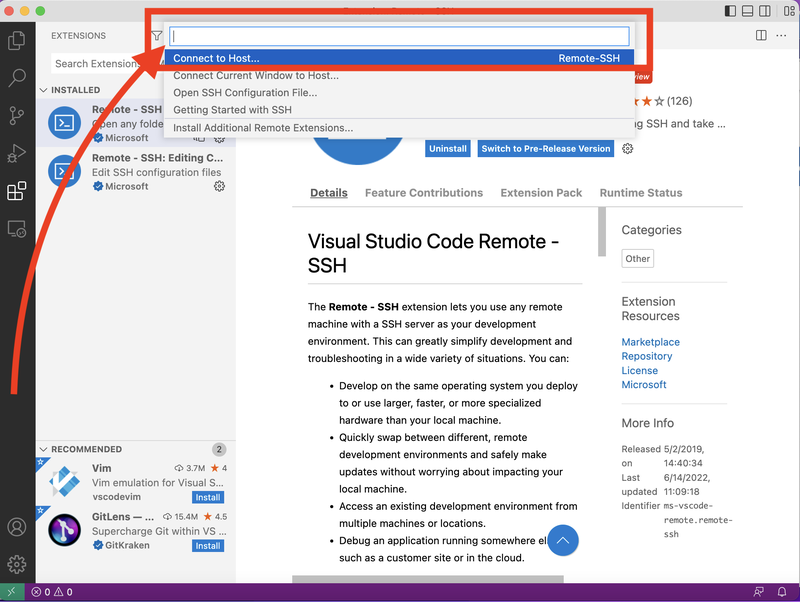
6. Connecting to Host
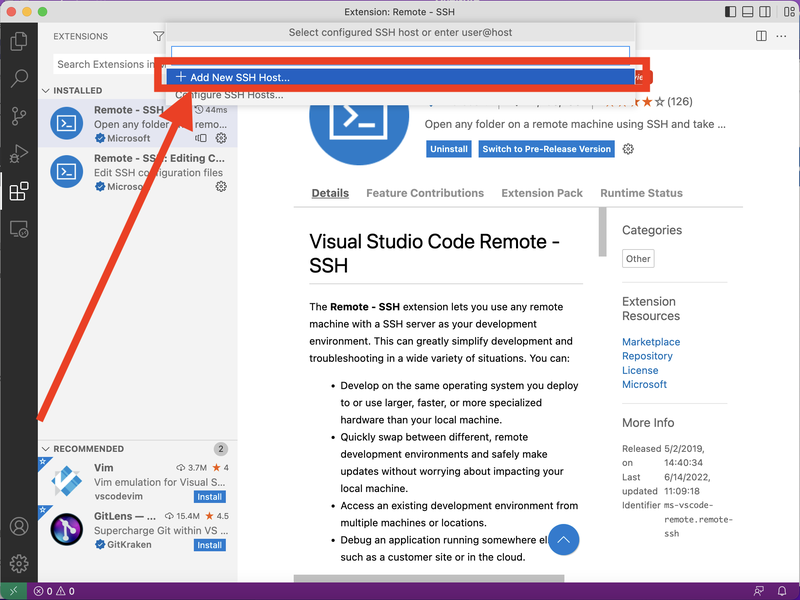
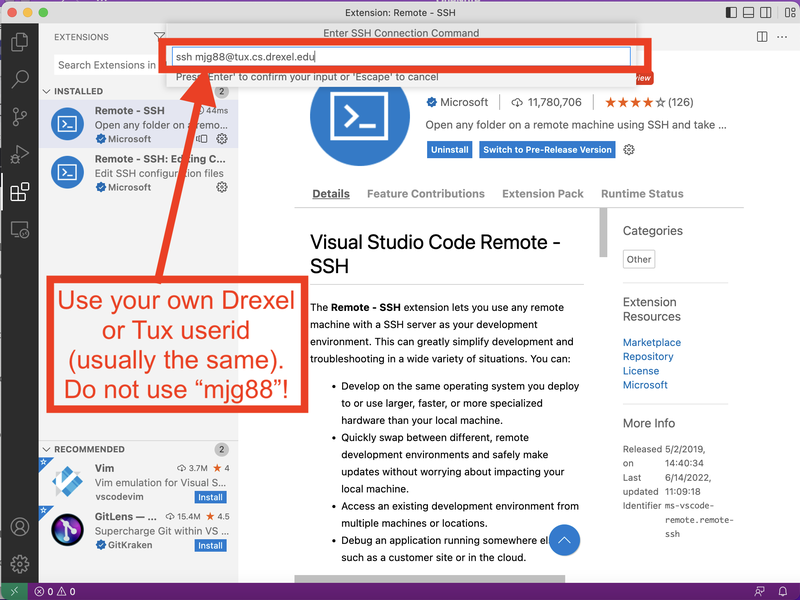
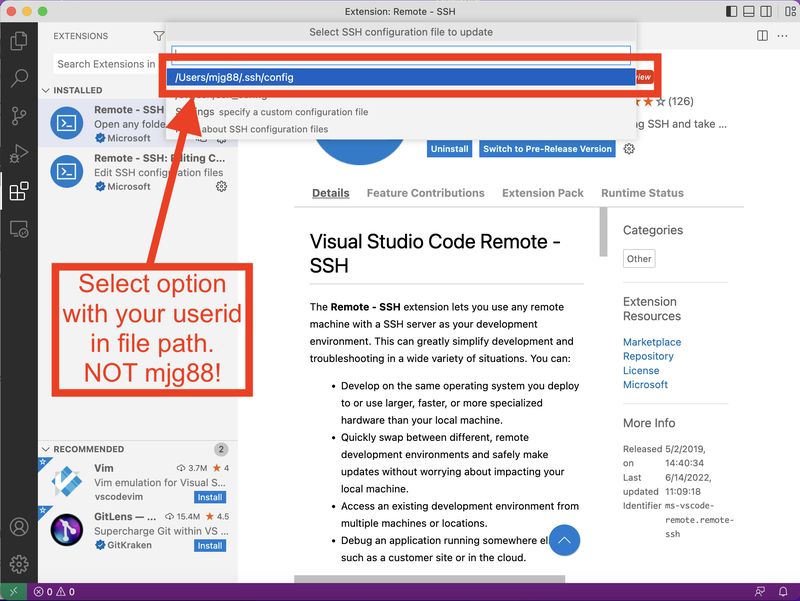
7. Adding new SSH Host, typing in ssh command with parameters, select option with your Tux file path.
3 screenshots below.
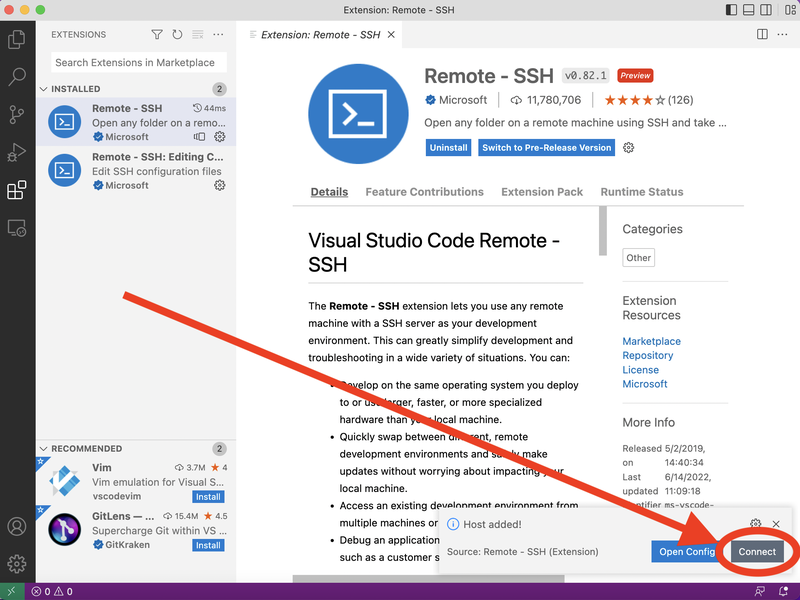
8. Connecting after adding new host
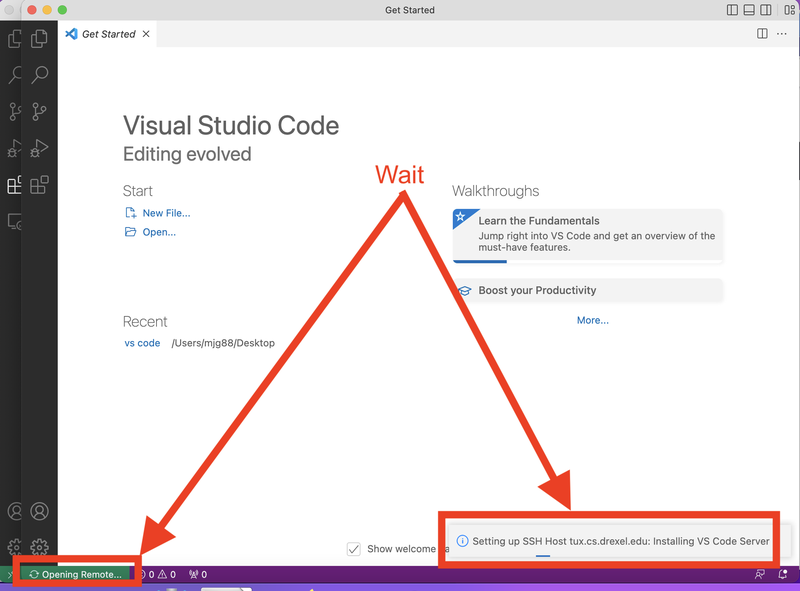
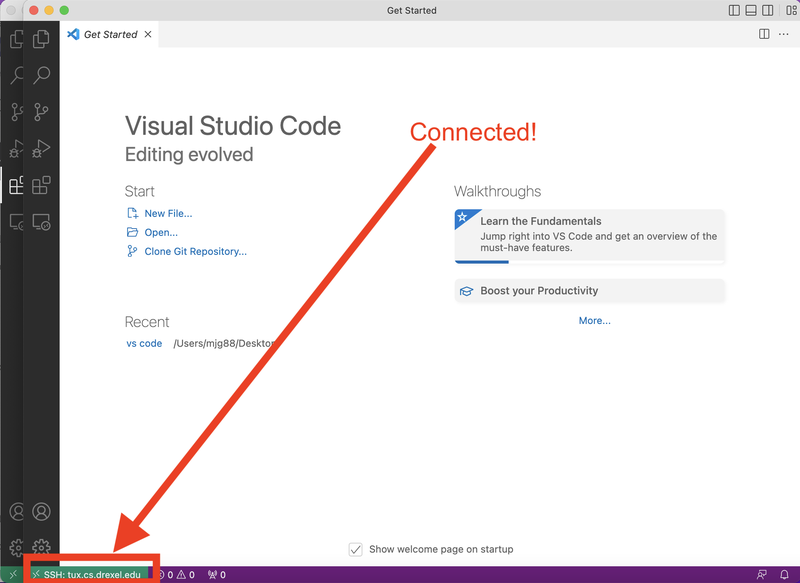
9. Wait for new SSH Host to be set up & show it's "Connected"
2 screenshots for this step.
10. Open file or new folder on VS Code
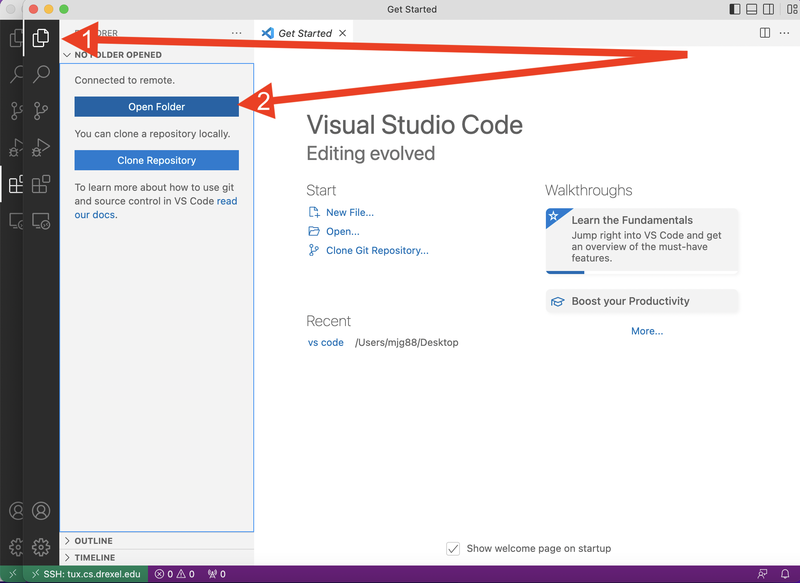
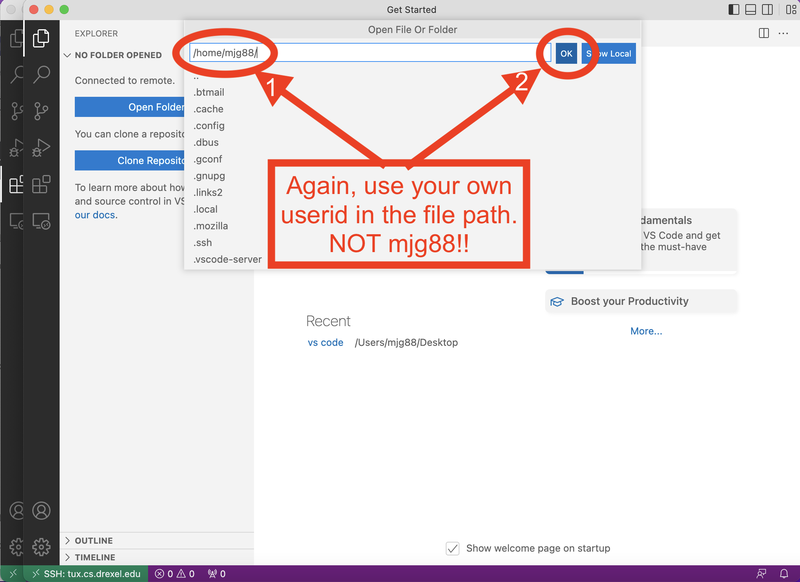
11. Type in or navigate to your OWN file/folder path in Tux.
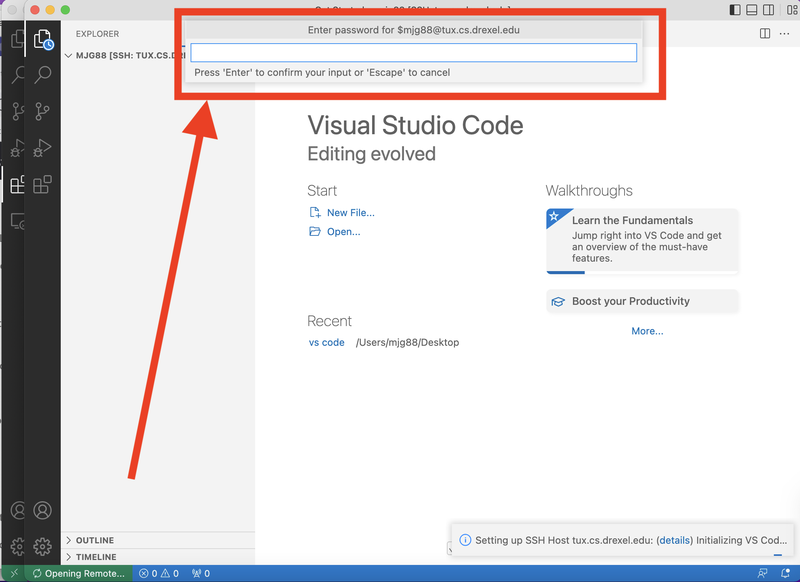
12. Enter your Drexel password (also your Tux password).
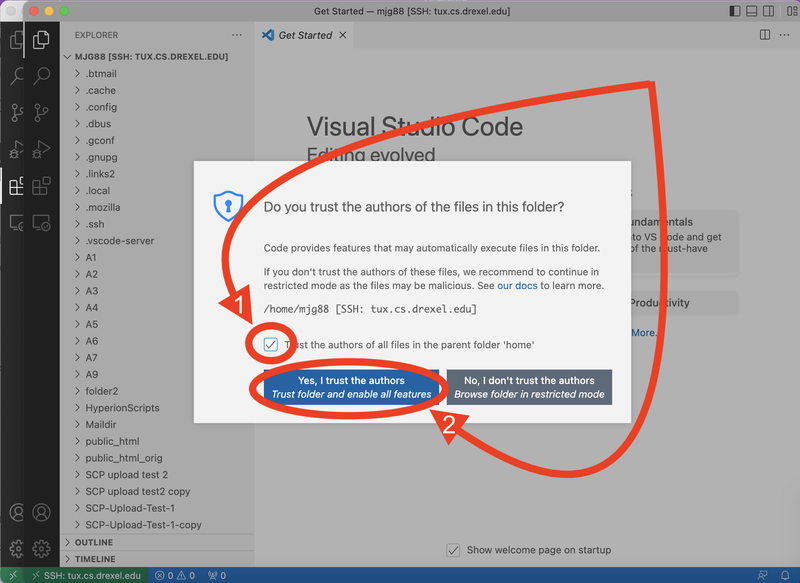
13. Check the box & click the button to trust the author of this folder.
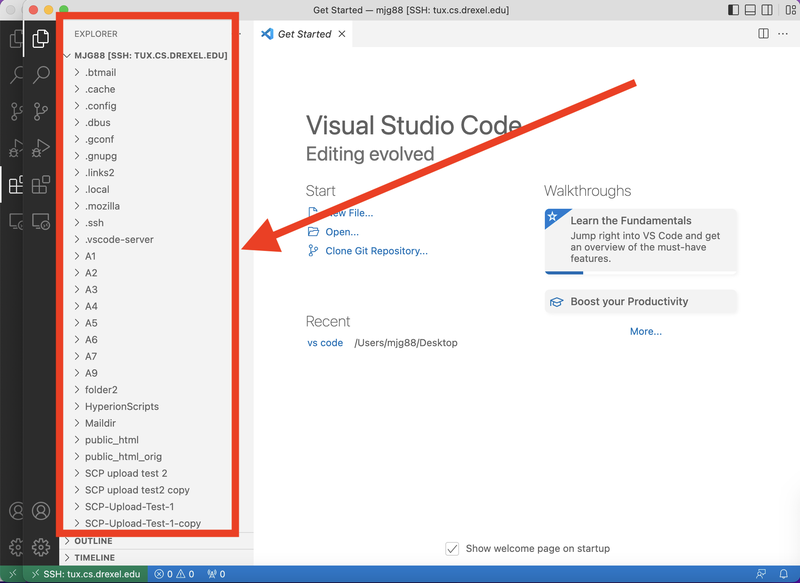
14. Setup *ALMOST* Complete. You can see your Tux files & folder in left "Explorer" navigation. *BUT* see *NEXT* step below as well.