
Printing from PaperCut is very similar to printing normally, but there are some minor differences. These instructions apply to Macs, PCs, iOS and Android devices, as well as Chrome OS systems.
The first difference you'll notice when printing is that you no longer have separate printers for the different copy rooms - now, the only printers you will see are the "CCI Color" and "CCI BW" printers. Instead of printing to a specific printer, you simply choose whether you want to print in black and white or in color. You can then walk to either printer and release your print job.

When printing from a Drexel Mac or PC, you can access advanced printing options just as you have in the past, for finishing options such as stapling and sorting.
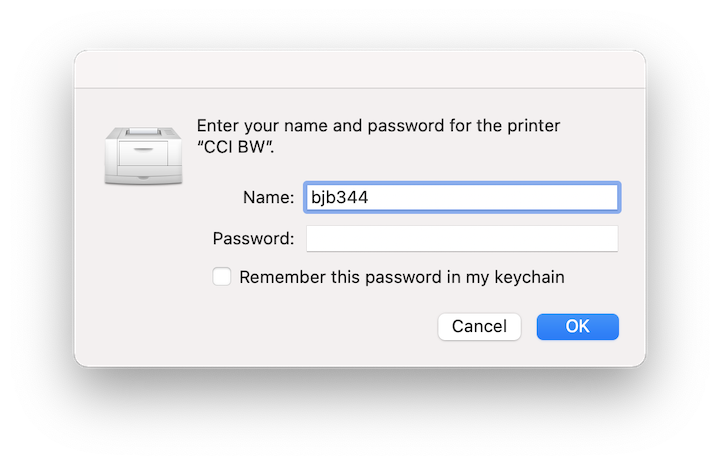
After submitting a print job, you may be asked for your Drexel username and password. This will ensure that only you can print your documents when you get to the printer.
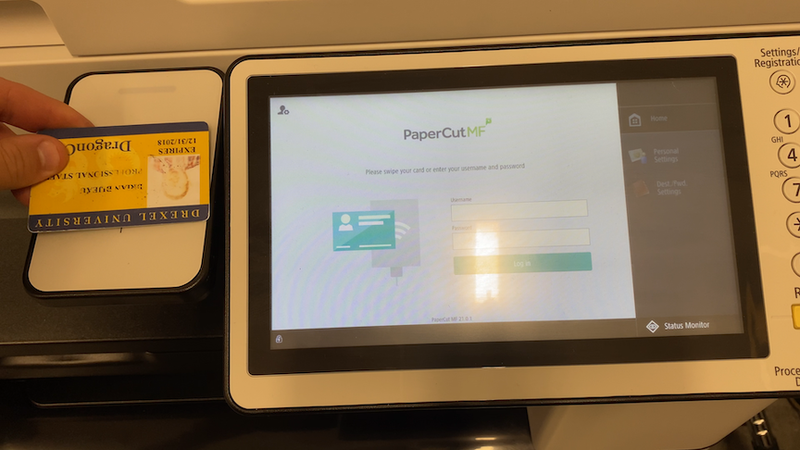
Once you've submitted your print job, and possibly authenticated with your Drexel credentials, you can go to either copy room to print your documents. Most faculty and staff have already been imported into the system and will be able to simply scan their DragonCard to log in, as shown below; you can also log in with your Drexel credentials if you don't have your card.
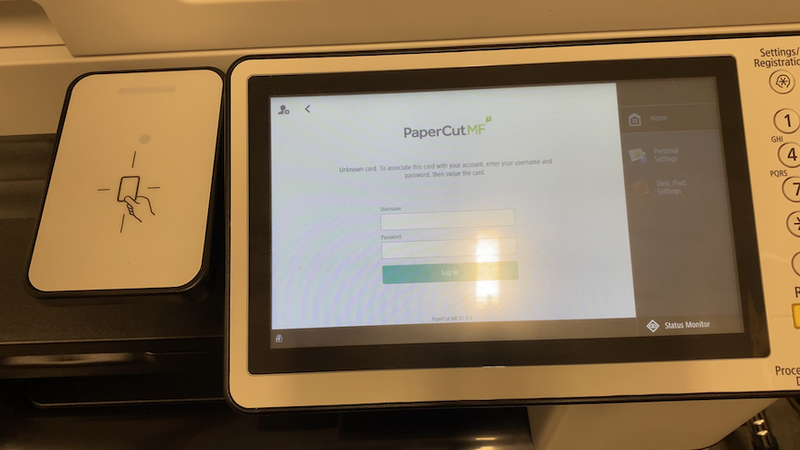
If your card is not recognized, you will be asked to log in using your Drexel credentials. This will record your card number so you can scan your card in the future.
Once logged into PaperCut, you can choose "Print Release" or "Access Device", as shown below:
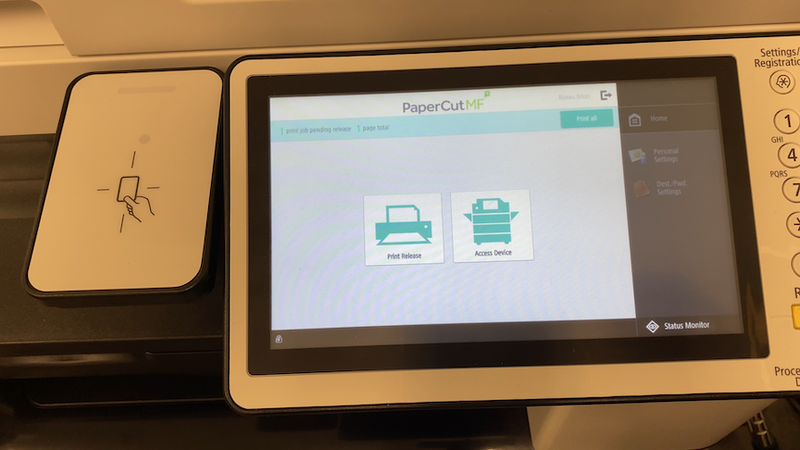
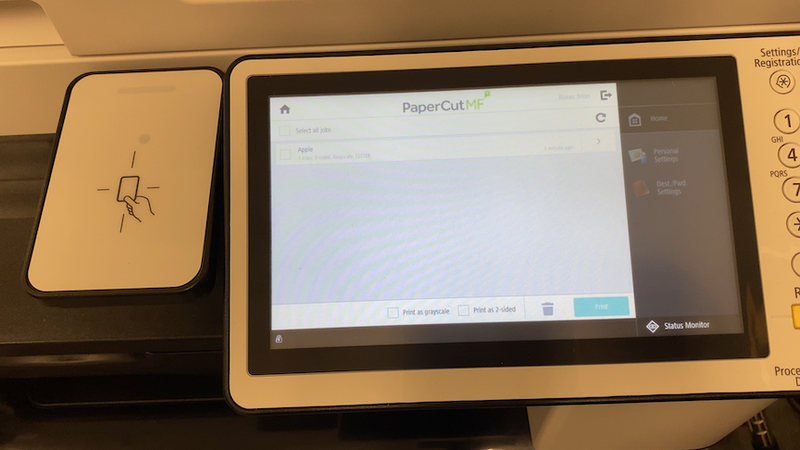
To print things you have submitted to the queue, choose "Print Release". This will bring you to your personal print queue, where you can choose to print documents you have submitted to the print queue. You can also choose to print as grayscale or convert a print to two-sided printing if desired.
To use the copier as a copier or scanner, choose "Access Device". This will give you the copier's standard interface, as you may have used before.