
Bb Learn Library Guide
Instructions
If you don't want to create a link in the left navigation panel in your Bb Learn course shell, skip to step1. Click the plus sign or + sign at the top of the left navigation panel in a Bb Learn course shell.
(a) Then click "Content Area."

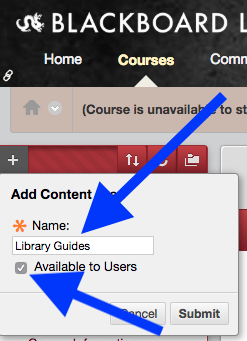
2. Type in "Library Guides" for the "Name," and check "Available to Users."
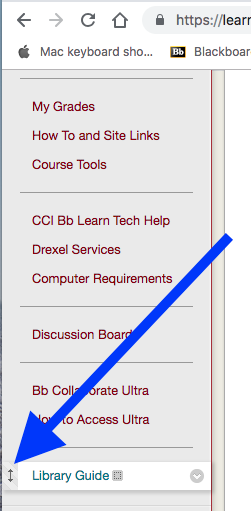
3. The new "Library Guides" link appears in the left navigation panel, further down the page.
4. Hover mouse pointer over new "Library Guides" link, click and hold the up-down arrow icon, and drag the "Library Guides" link where you wish it to be.
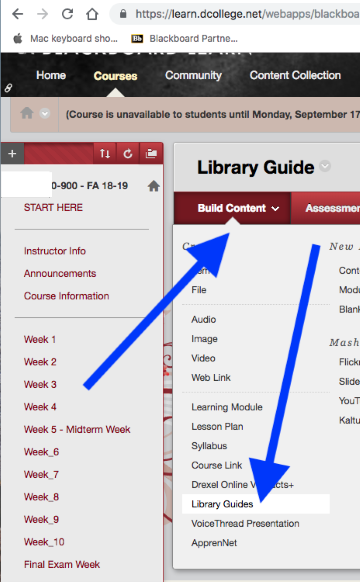
5. Click the "Library Guides" link in the left navigation panel.
(a) Or click a different link the left navigation panel. You have to go to a content area with a "Build Content" button.
6. Click "Build Content," then the "Library Guides" link in the main area of the webpage.
7. Enter "Library Guide for this Course" as the "Name."
(a) And enter "Click link above to access Library Guide for this course." in the description (without quotes).
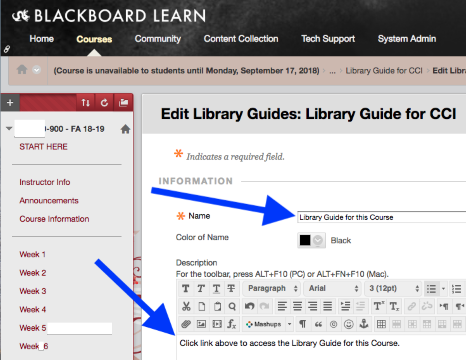
8. Click "Submit."
(a) Your "Library Guide" is now created.