FileZilla
Video Instructions
More FileZilla tips
NOTE for Tux Users:
- For TUX access, current Tux users would probably use their Drexel username@drexel.edu , and not just their Drexel username. For example, if your Drexel userid was mjg88, you would use mjg88@drexel.edu , and not just mjg88. But if you run into issues, then try using only the Drexel username (so only mjg88 in this example).
-
Important Note for Port 22 when you're setting up for sftp (and we don't recommend ftp, if it would work at all), especially if it's not connecting.
Also, if you may want to type in their password when you first do set-up, especially if it's not connecting.
Written Instructions
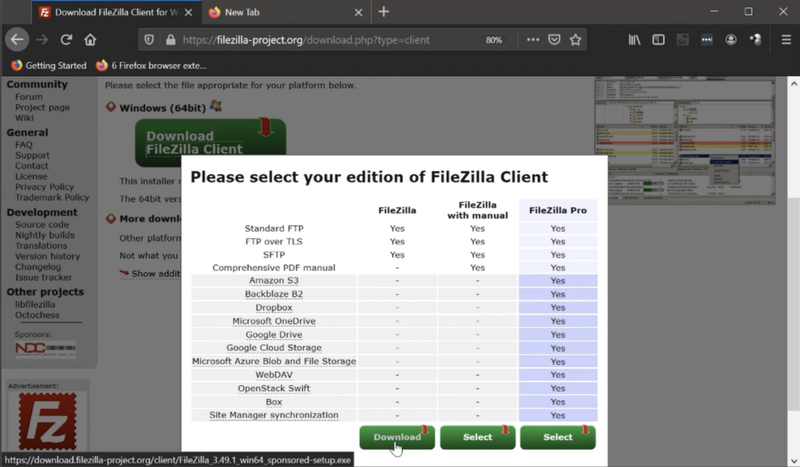
- Go to https://filezilla-project.org and download the FileZilla Client for your operating system.
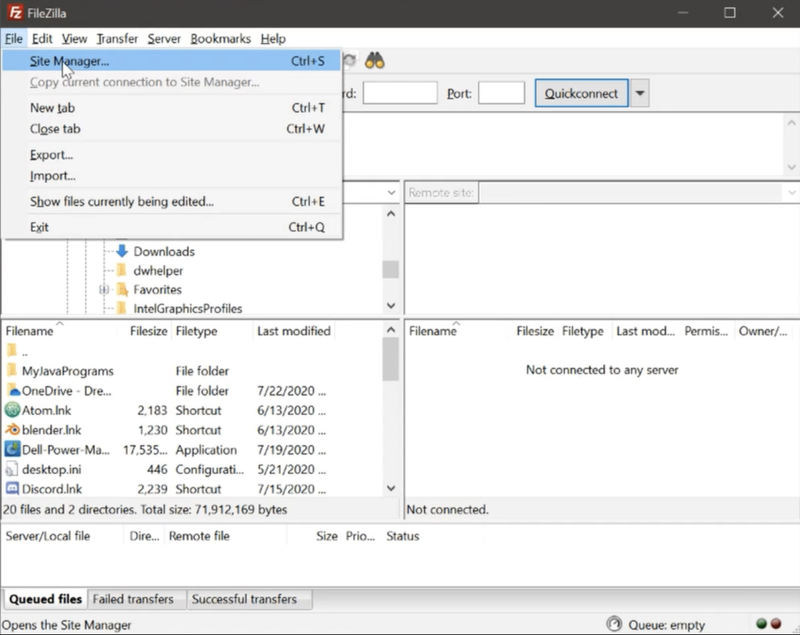
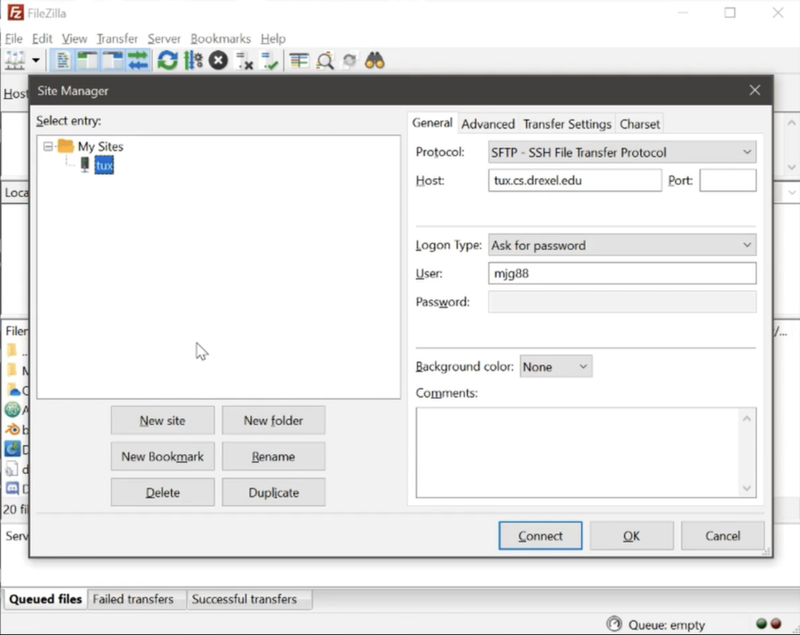
- In the top-left corner, click File > Site Manager...
- On the right-hand side, select STFP as the protocol
Type tux.cs.drexel.edu in the Host field
Enter your Drexel ID (abc123) in the User field
NOTE: Current Tux users will probably now use...
abc123@drexel.edu
and not just
abc123
Screenshot below is only using abc123 (the example is mjg88, but it's the abc123 Drexel ID).
Instead, in example screenshot below, the user would use mjg88@drexel.edu in the User field.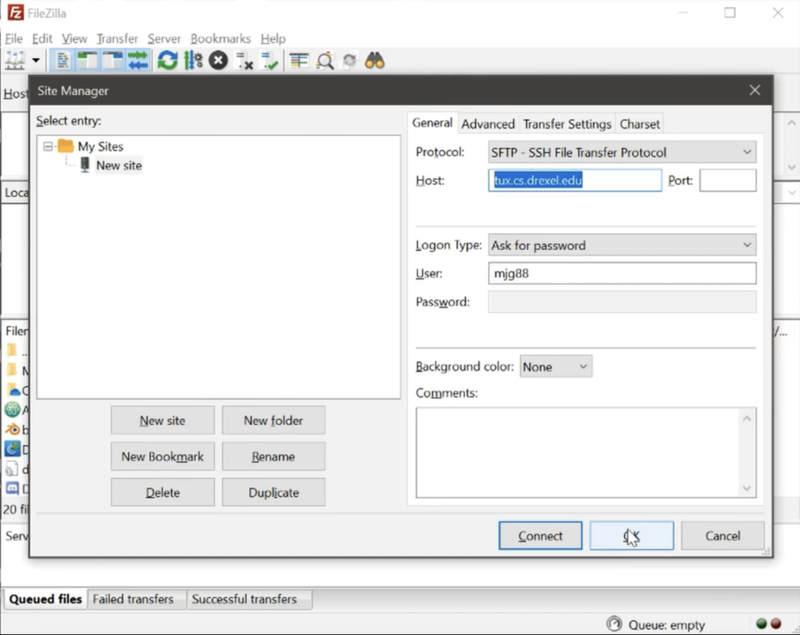
- On the left-hand side, select and rename the site to a preferred name such as "tux". When done, click Connect.
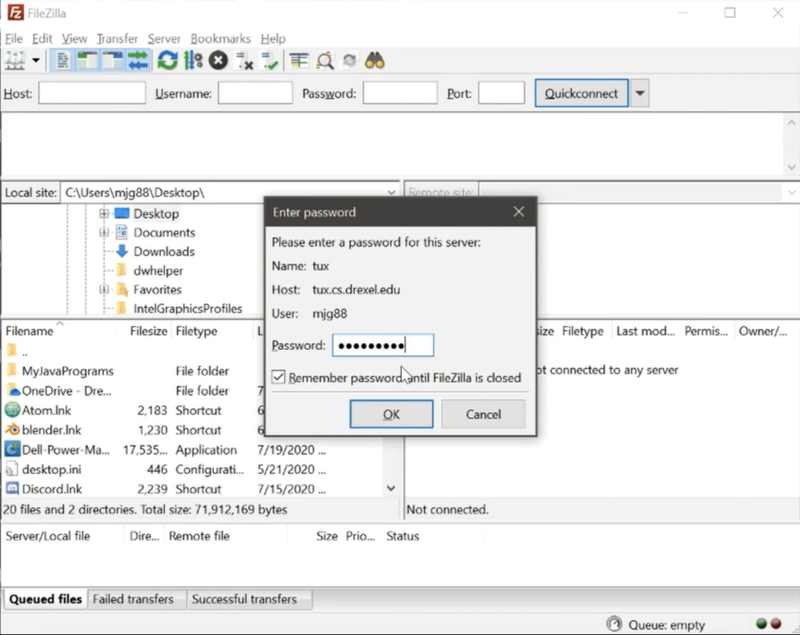
- Enter your Drexel password. Also, check the box to remember the password until FileZilla is closed.
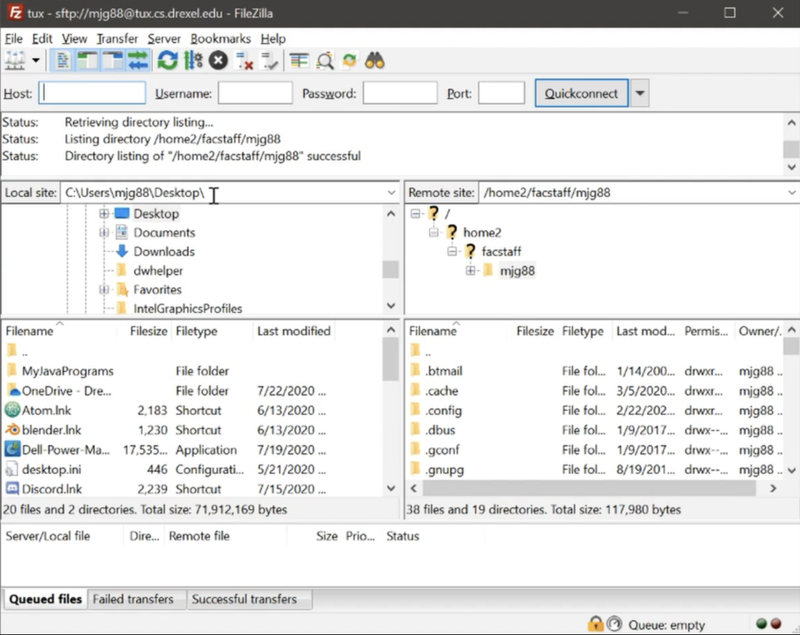
- You now have access to your Tux via FileZilla GUI
Additional Tips
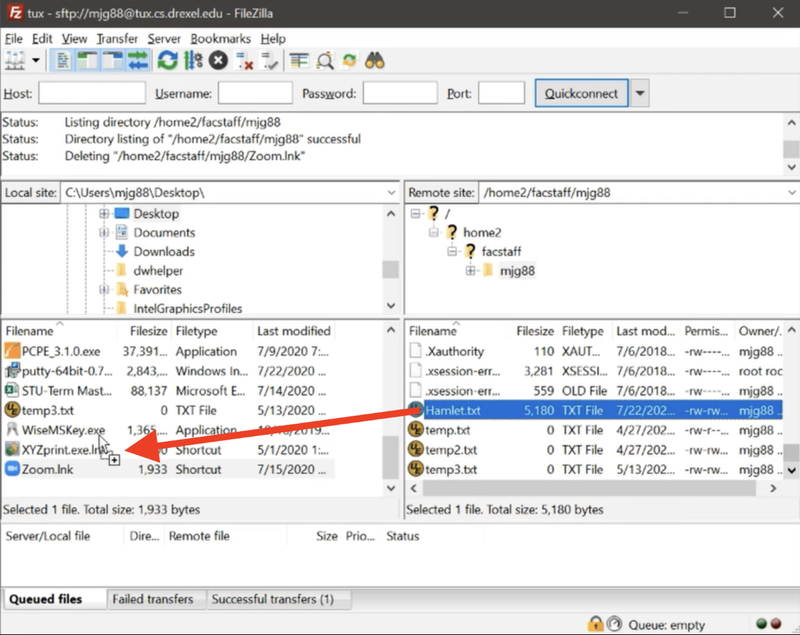
- You can drag-and-drop your files from your local computer to the remote Tux server.
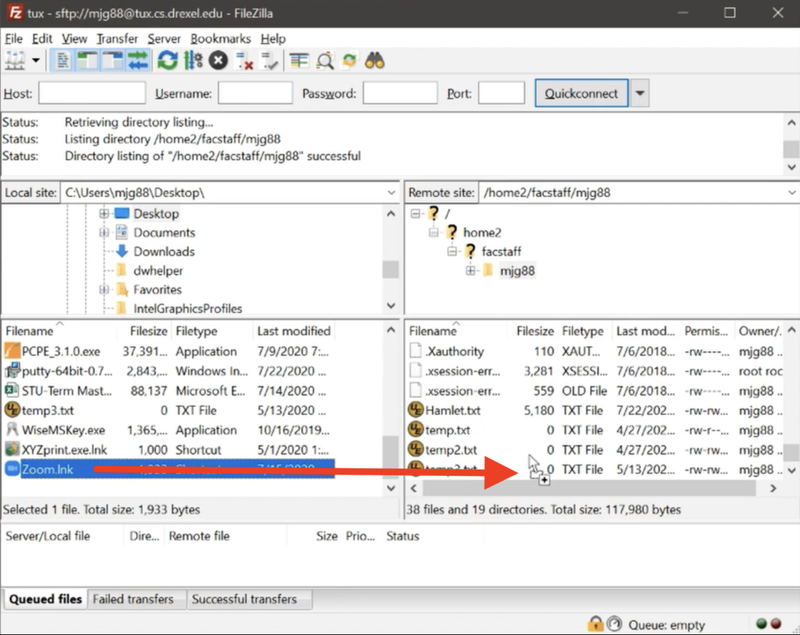
- You can also drag-and-drop from your remote Tux server to your local computer.
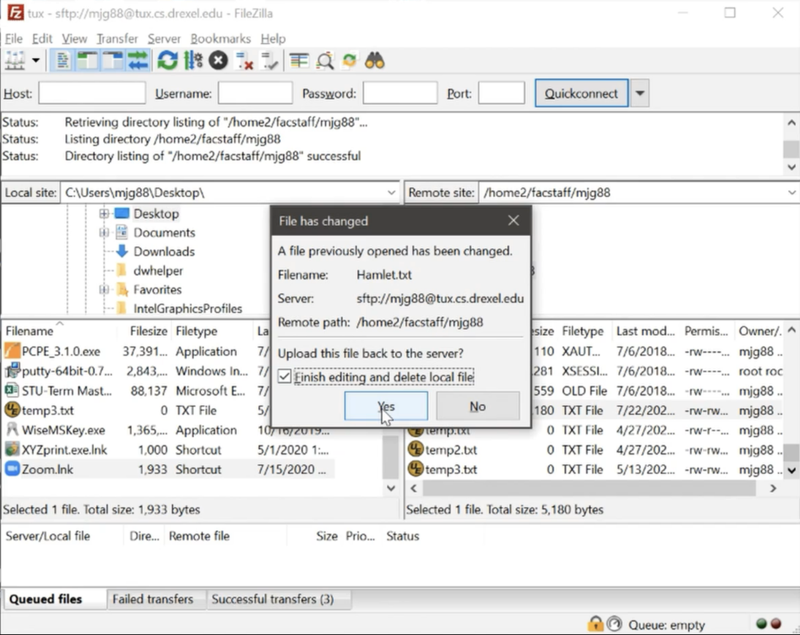
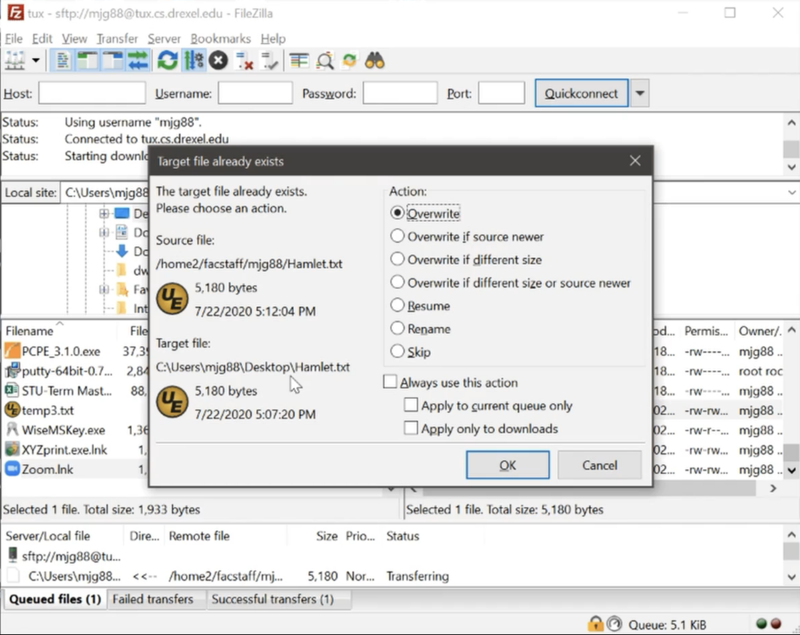
- Be careful transferring files to locations that have a file with the same name. Determine if you want to overwrite this file.
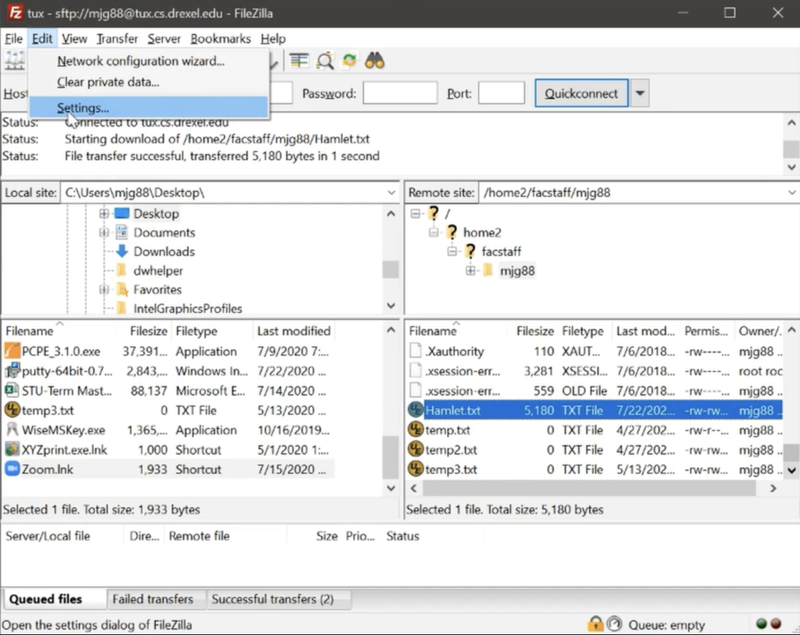
- To set your default text editor, go to Edit > Settings... in the top-left corner.
On the left-hand side, find and click on File editing. Click Use custom editor radio button > Browse...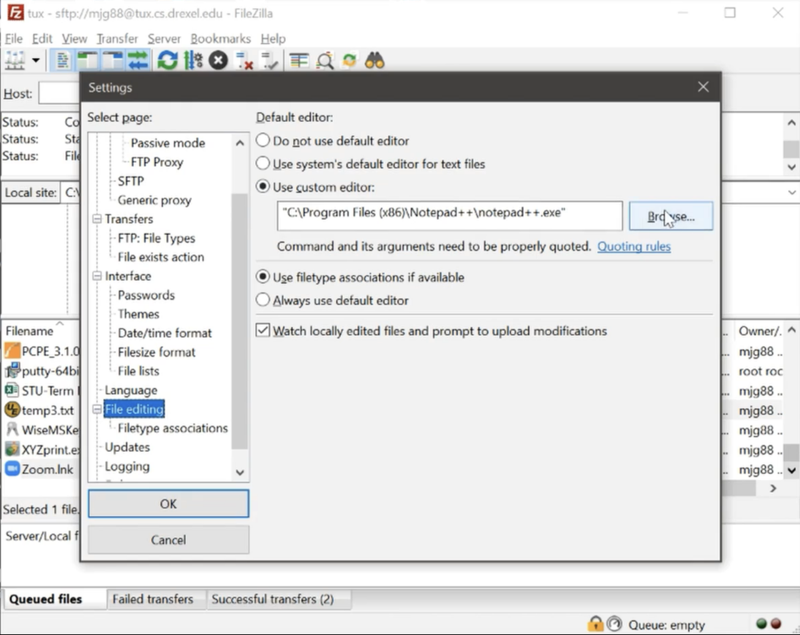
Find your preferred text editor (Notepad++ recommended). Click Open > OK to save your changes.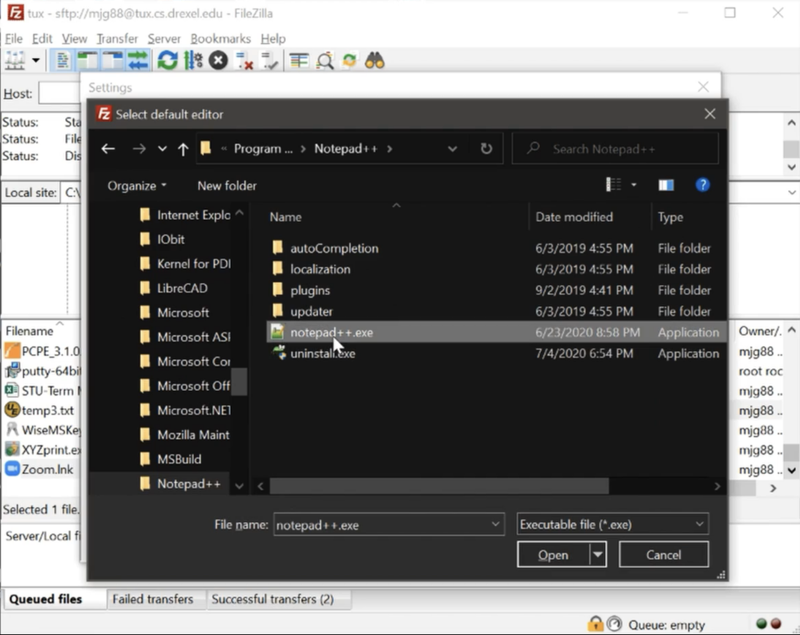
- To edit a file, right-click the file and click on View/Edit.
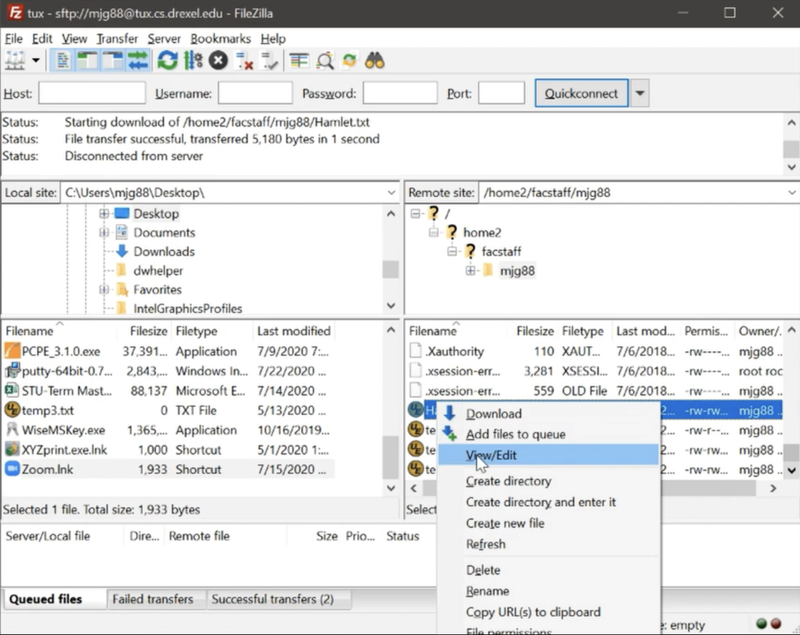
After you have finished editing and saving your file, you will get up a pop-up that the file has changed. Click Yes to update the file on the remote Tux server.