
Outlook -- FindTime or Scheduling Poll or Scheduler
Introduction
FindTime is a scheduling add-on for Outlook that allows for polls to be sent out via email in order to collaborate on a time for a meeting.
NOTE: FindTime was replaced by the Scheduling Poll feature in all versions of Outlook sometime May or June 2023Troubleshooting?
See Outlook -- FindTime or Scheduling Poll Issues
macOS
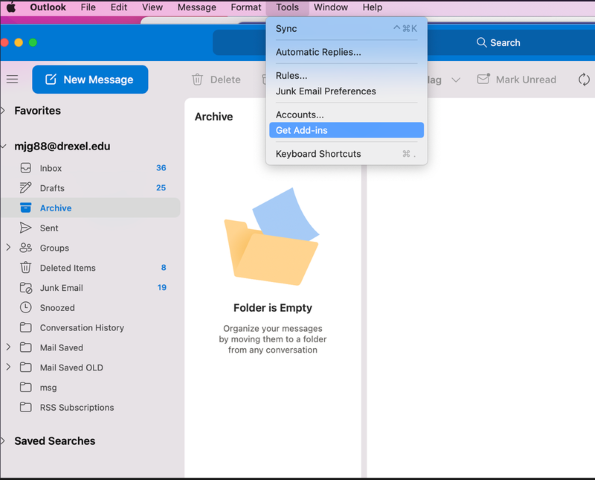
Open Outlook and sign in as usual. When you are signed in, locate the "Tools" dropdown on the upper toolbar and select "Get Add-ins".
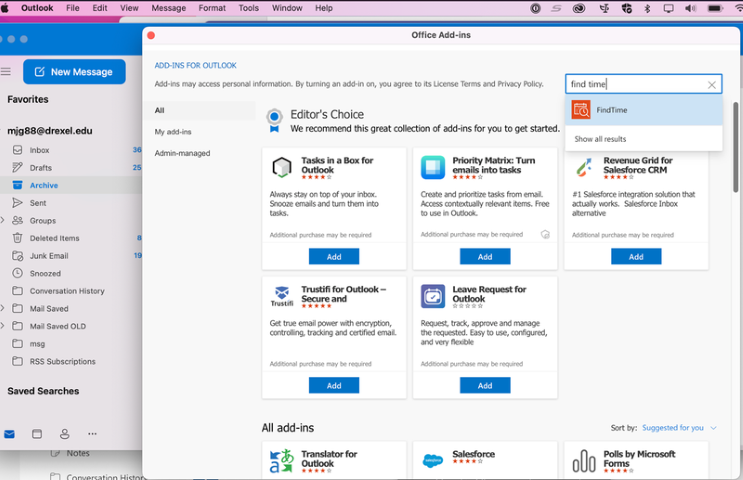
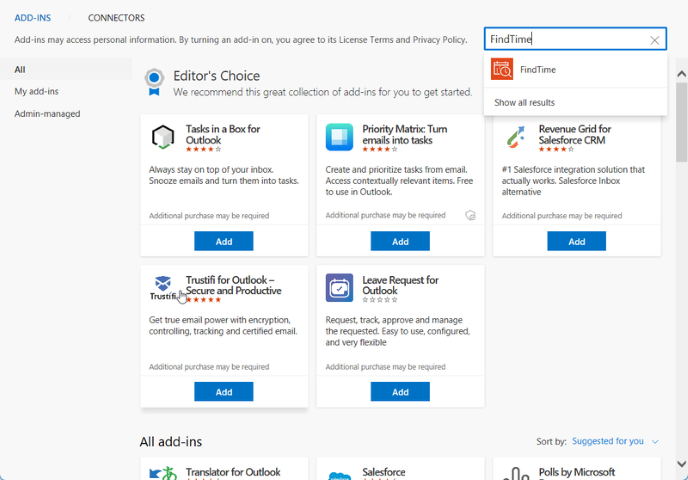
Use the search box to search for "FindTime". Select it and click "Add".
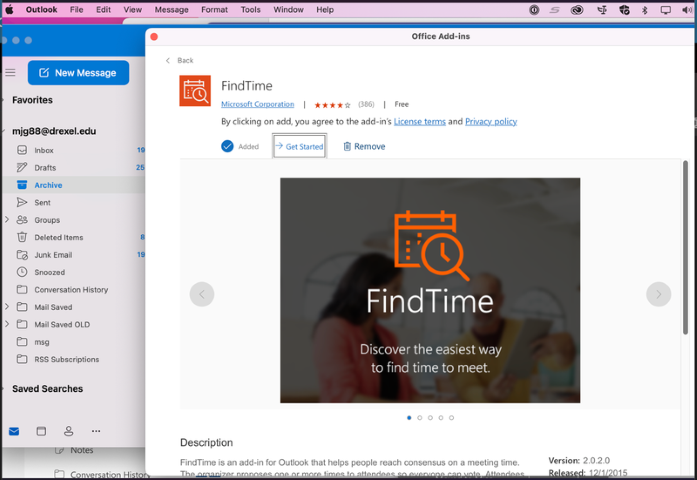
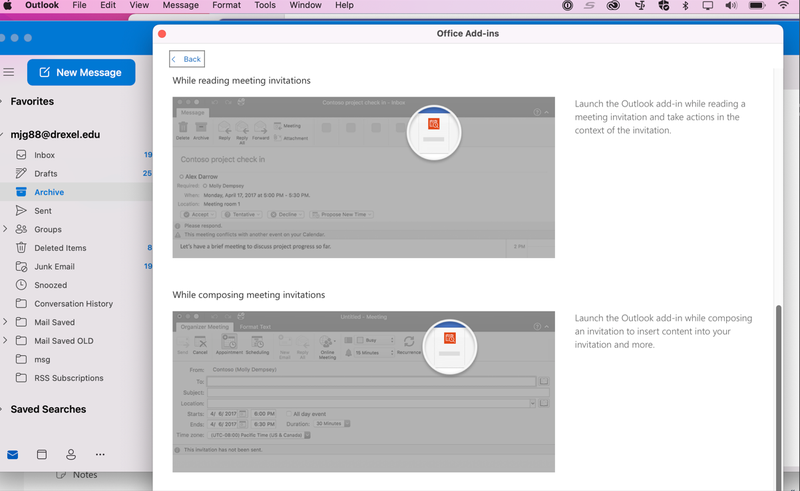
You now have FindTime installed for your Outlook on MacOS! When creating or replying to an email, locate the Outlook add-in to use contextual features based on the type of message you are sending.
macOS & Using FindTime or Scheduling Poll
Sending a poll in an email starts with starting a draft and targeting some users to send it to. Click the "Scheduling Poll" button along the top row within the Outlook client to open up a sidebar menu for the add-in.
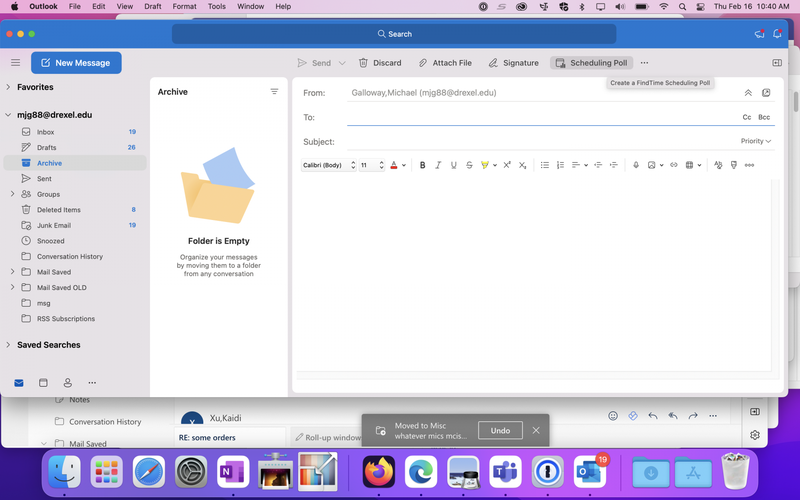
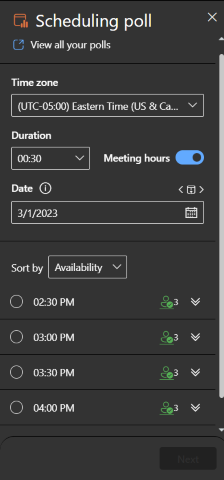
Once the add-in's window has open, be sure to target somebody for the email and look at the options on the right bar for creating the scheduling poll. These settings include time zone, duration of meeting and date of meeting. The sort by option also allows you to sort through responses based on some templates.

After pressing next and sending out the email, you will be able to view in your calendar responses to the poll and general availability for this specified meeting.
Windows and Adding the FindTime or Scheduling Poll Add-In
Open your Outlook client and sign in as usual. Make sure the header tab is set to "Home". Click on the icon that looks like a red box with a plus in the top right, named "Browse Add-ins"

Use the search box and search for "FindTime". Click on the app that comes up.
Confirm the installation by pressing "Add".
You
now have FindTime installed for your Outlook on Windows! Click the three
dots to the far right of the Home tab and navigate to the bottom of the
dropdown to access its reply function, or the three dots when creating a
new email to insert a scheduling poll.
Windows & Using FindTime or Scheduling Poll
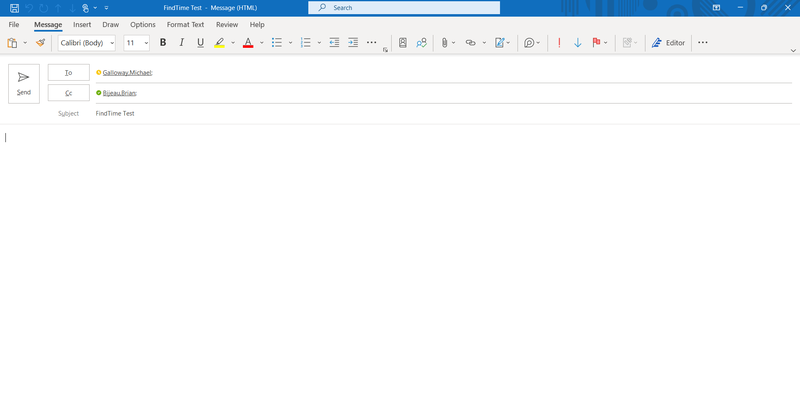
Start by creating a new draft / response and ensuring a user is selected to send the email to. ALSO MAKE SURE THAT AFTER CHOSING THE TO / CC LINES TO SELECT THE BODY OF THE EMAIL.
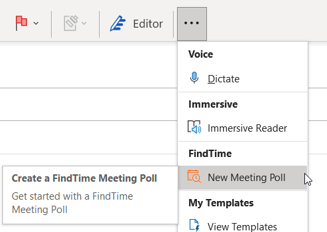
Navigate to the three dots next to the "Editor" button and select it to release the dropdown menu. Select "New Meeting Poll" from this list.

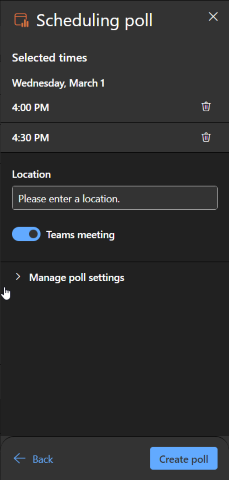
After selecting "New Meeting Poll" you can view all the polling options, including the ability to select meeting times, meeting length, timezone/date, and meeting location.
If Someone Does Not Have an Outlook Account?
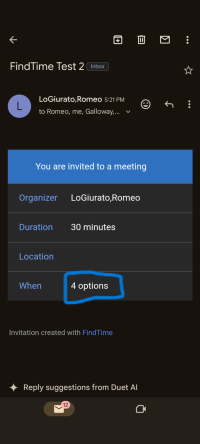
If a recipient does not have an Outlook or Office or Microsoft 365 account, they can simply click the "# options" link as shown below:
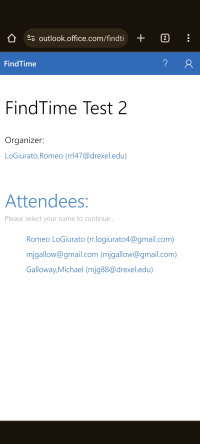
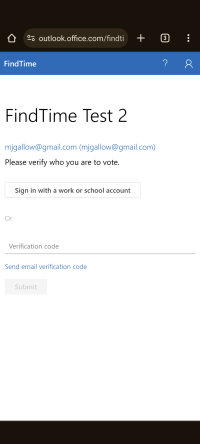
The recipient will then be directed to this page, where they can select their name to continue.
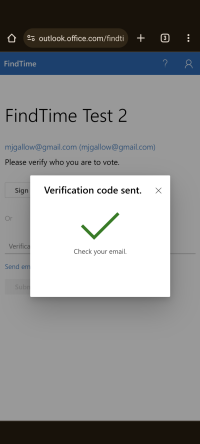
Upon selecting their name, they will be prompted to send an email verification code to the creator of the poll. A message saying 'Verification code sent.' will appear on the screen afterward.
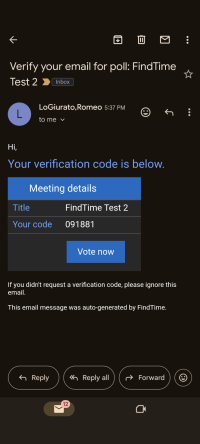
The recipient will then receive an email with the verification code.
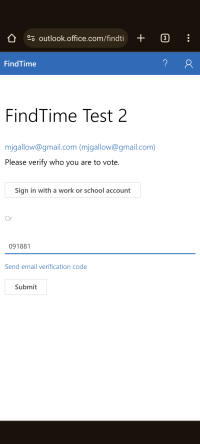
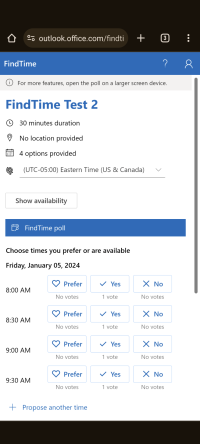
After entering the verification code, the recipient can vote on the time that works best for them.
Keywords: doodle, scheduler, find time, schedule, calendar